
Design Serge Pennec
Building Lionel Storck
| Where am I standing.... | |||||||||||||||||||||||||||||||||||||||||||||||||||||||||||||||||||||||||||||||||||||||||||||||||||||||||||||||||||||||||||||||||||||||||||||||||||||||||||||||||||||||||||||||||||||||||||||||||||||||||||||||||||||||||||||||||||
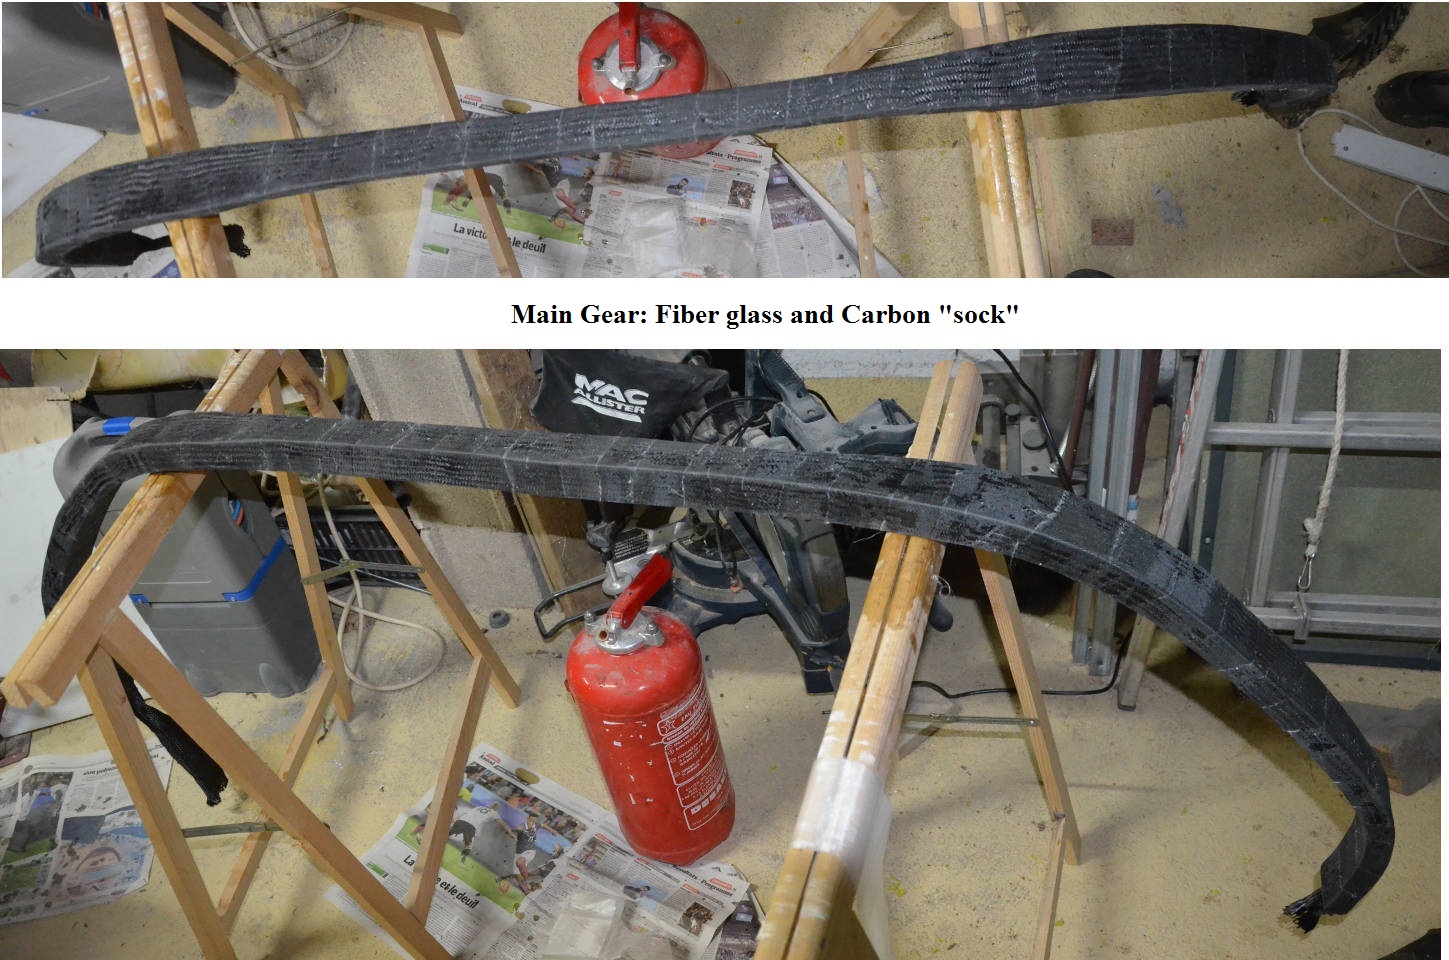
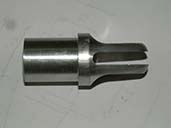
In short:powerplant: almost done... remains: Reverse the electrical supply of the electrovalve and mounting on the plane.... Voir la page Moteur/réducteur. Main Gear: Done but a glue plate to get a good support for the flanges. See the landing gears page. Wings: Spars glued. See the wing page. Fuselage: Fuselage structure completed, Empennage glued, 45° corners done. See the fuselage page. Empennage: Vertical stabilizer glued. Yaw structure done. See the empennage page. Stabilator: Structure glued. See the empennage page. Composite Material: See the Composites page. Powerplant/Reducer
: powerplant Latest pictures:
Details:
|
|||||||||||||||||||||||||||||||||||||||||||||||||||||||||||||||||||||||||||||||||||||||||||||||||||||||||||||||||||||||||||||||||||||||||||||||||||||||||||||||||||||||||||||||||||||||||||||||||||||||||||||||||||||||||||||||||||


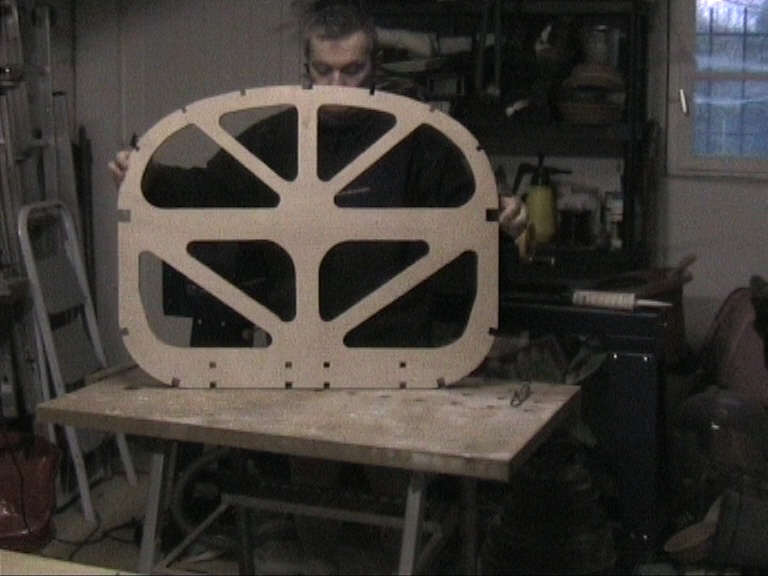
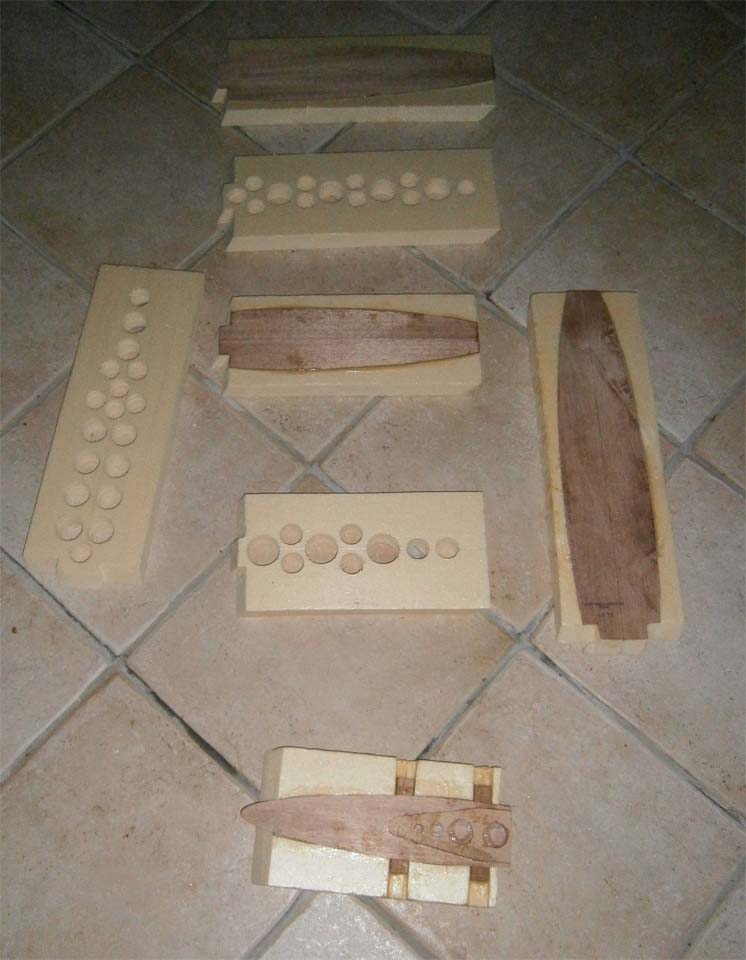
Ready for the first drawing
|
Hand drawing
|
C4 drawing using a template
|
|---|
Jig saw cutting
|
Recticfication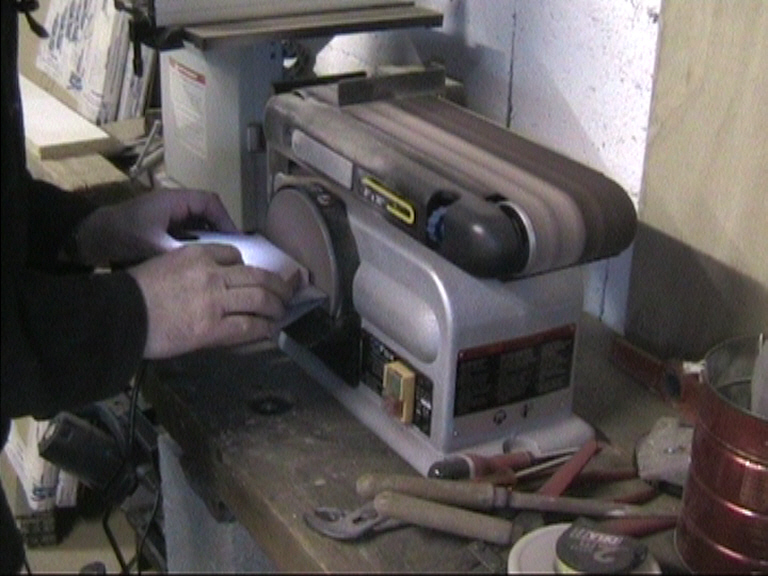
|
Finishing up at the router table
|
Sanding
|
|---|
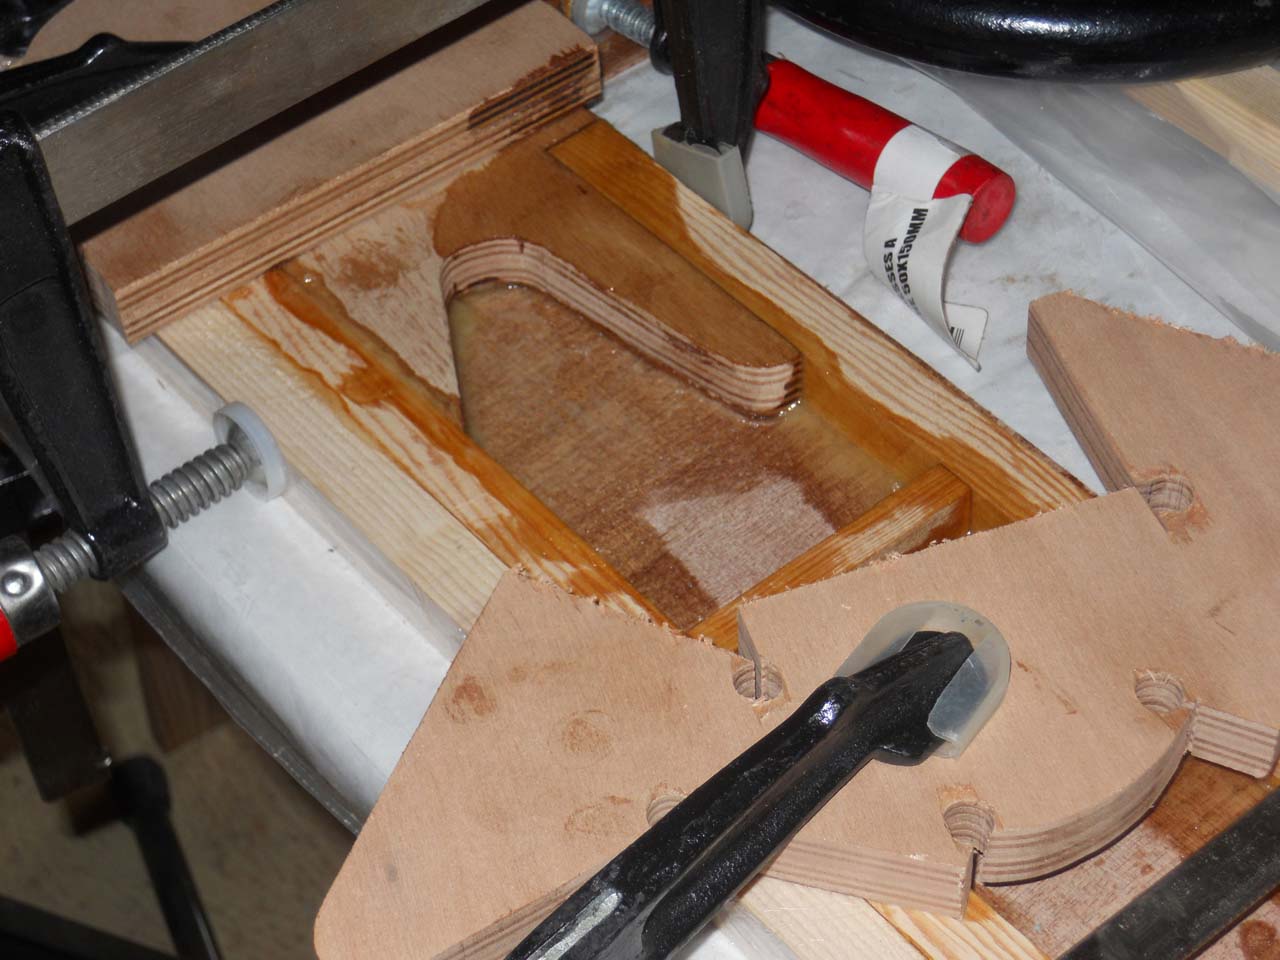
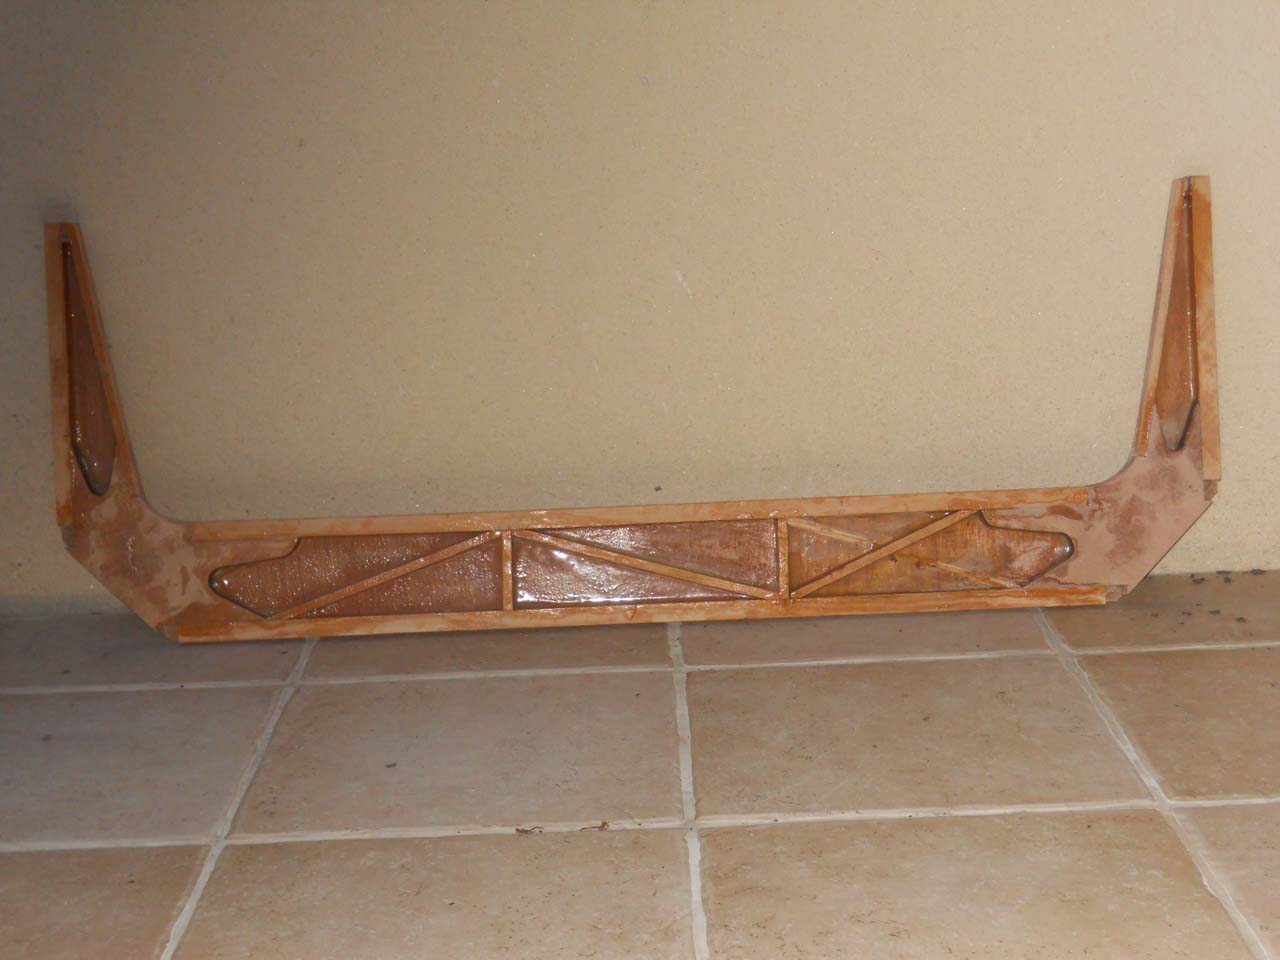
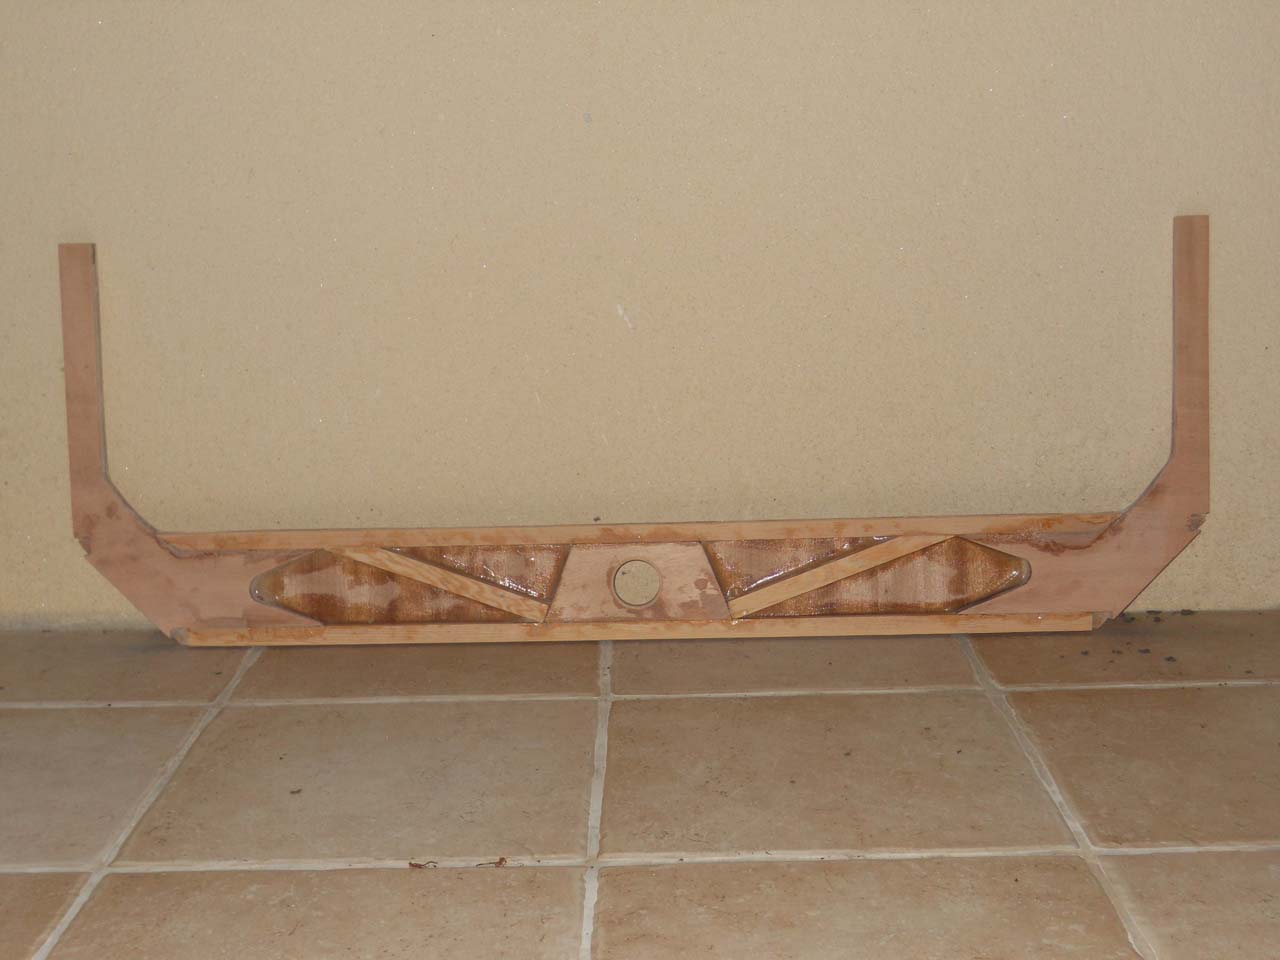
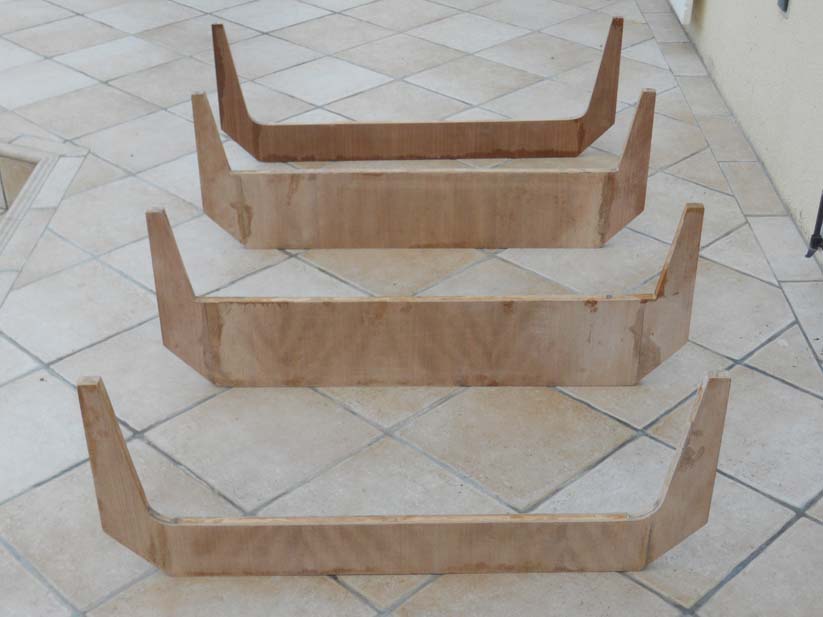
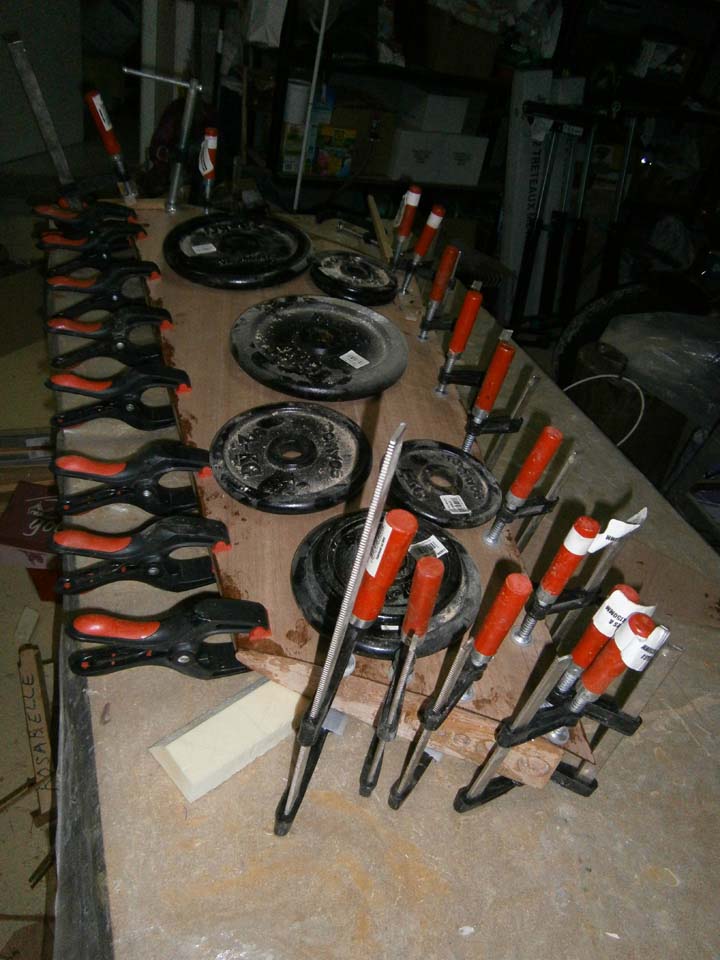
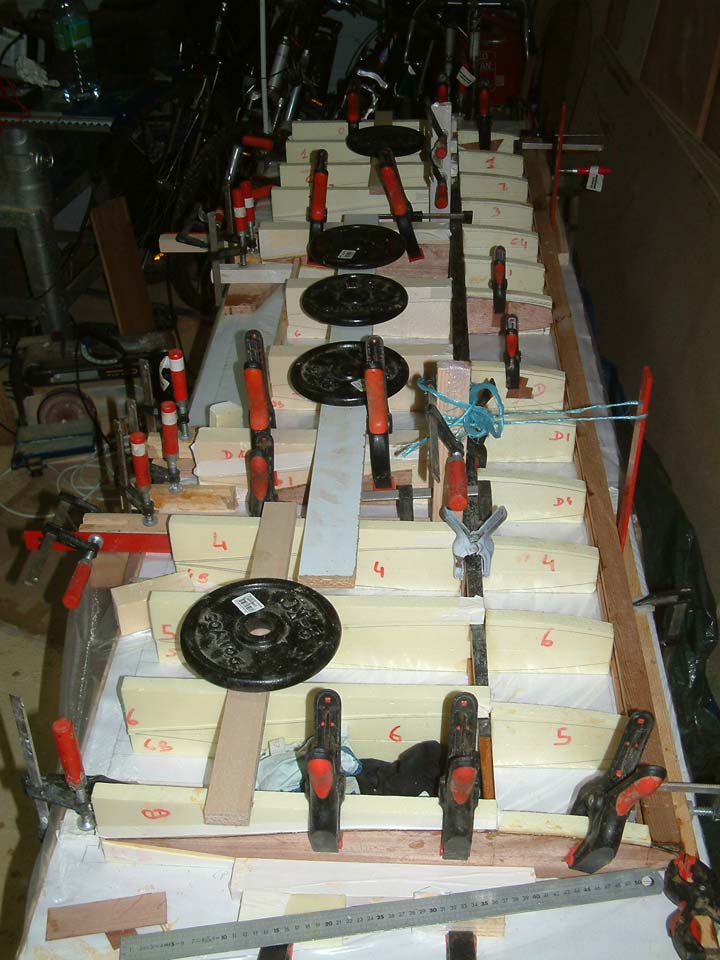
All frame corners. |
|---|

|
 |
|---|

|
 |
|---|

|
|

|

|
|---|---|---|---|
|
|
|
|
|

|
|
|
|---|---|---|---|
|
|

|

|
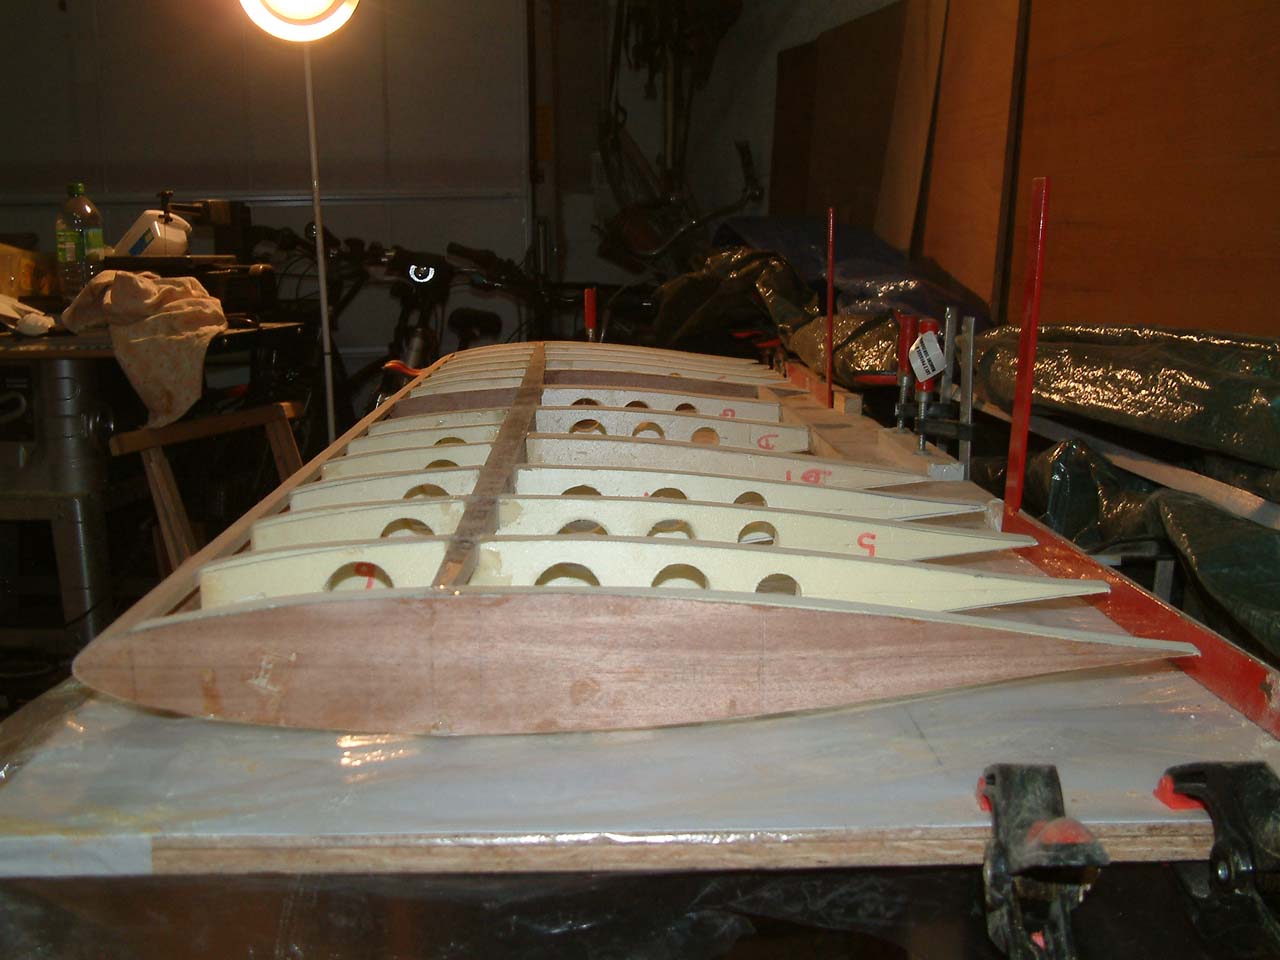
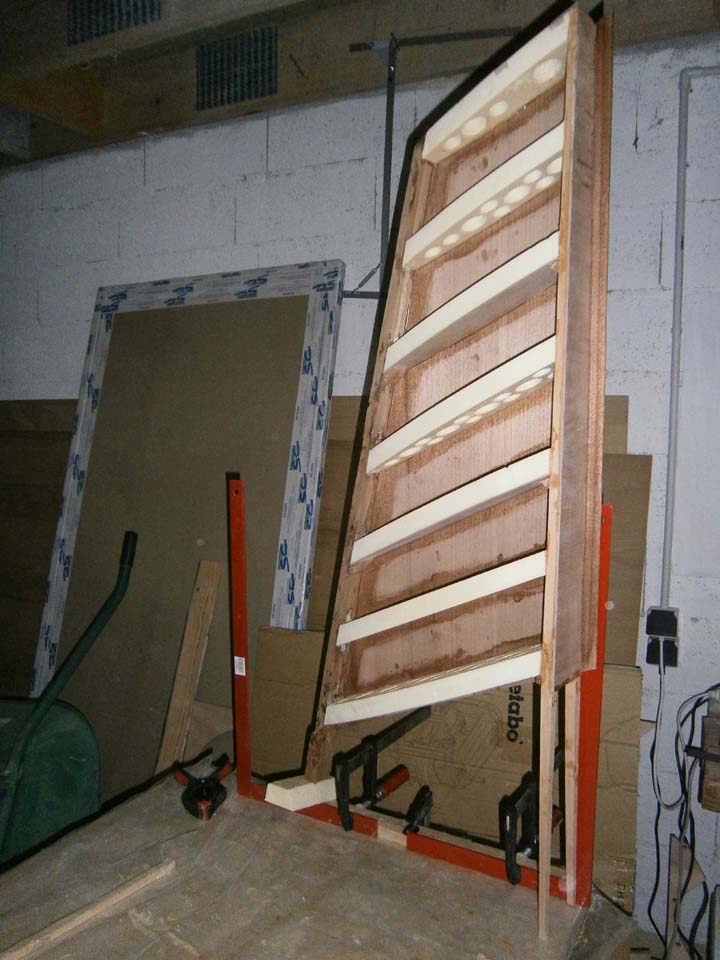
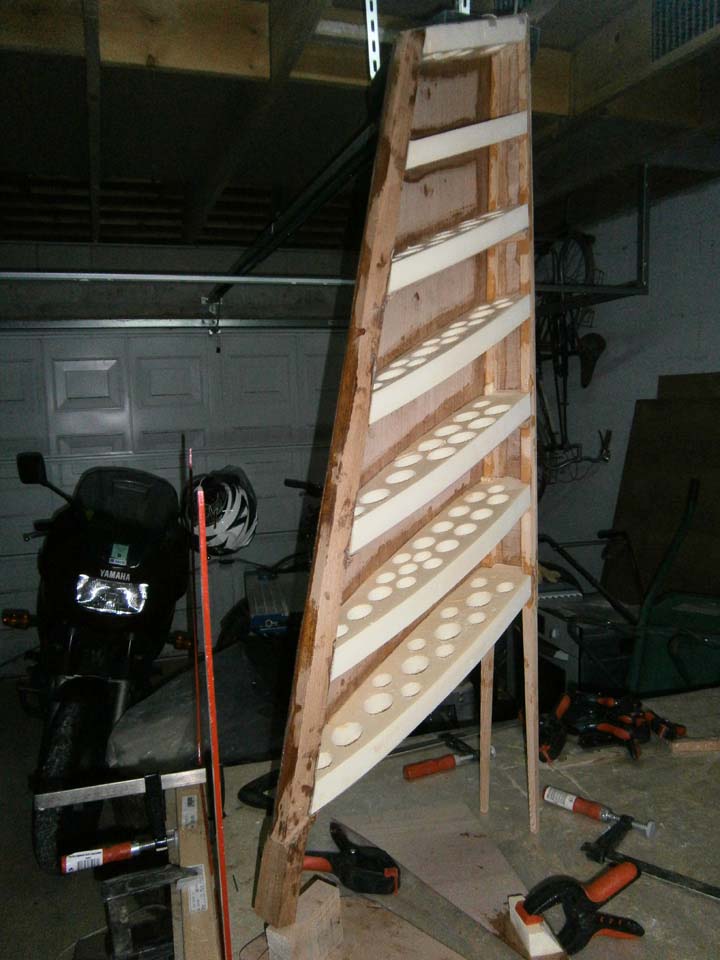
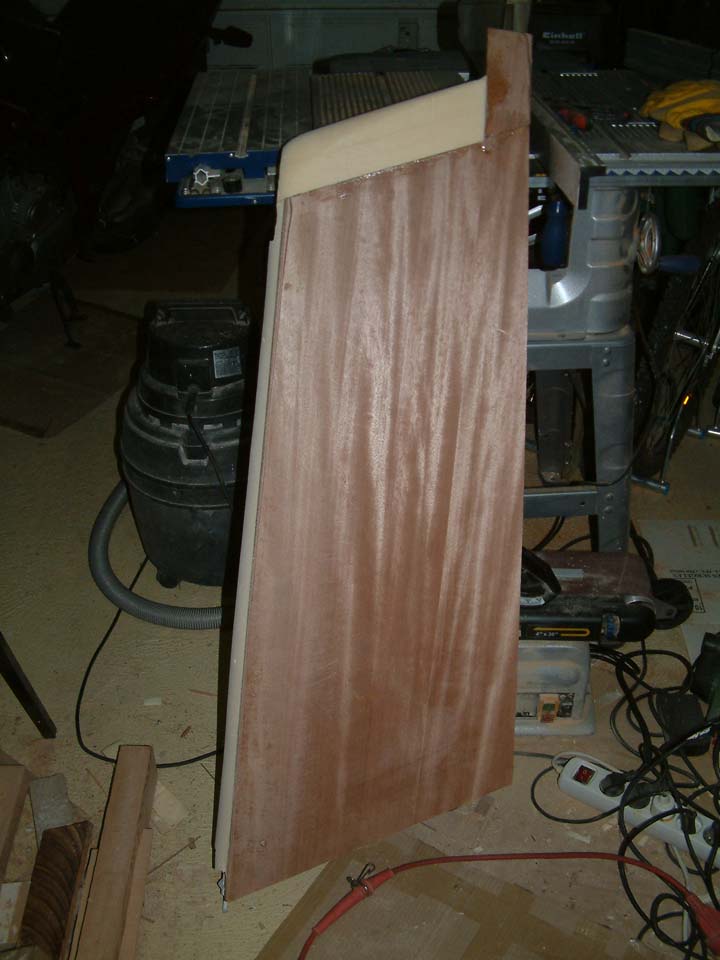
October. Vertical Stabilizer: rib sanding and gluing the skin. See the empennage page.
 |
 |
 |
|---|
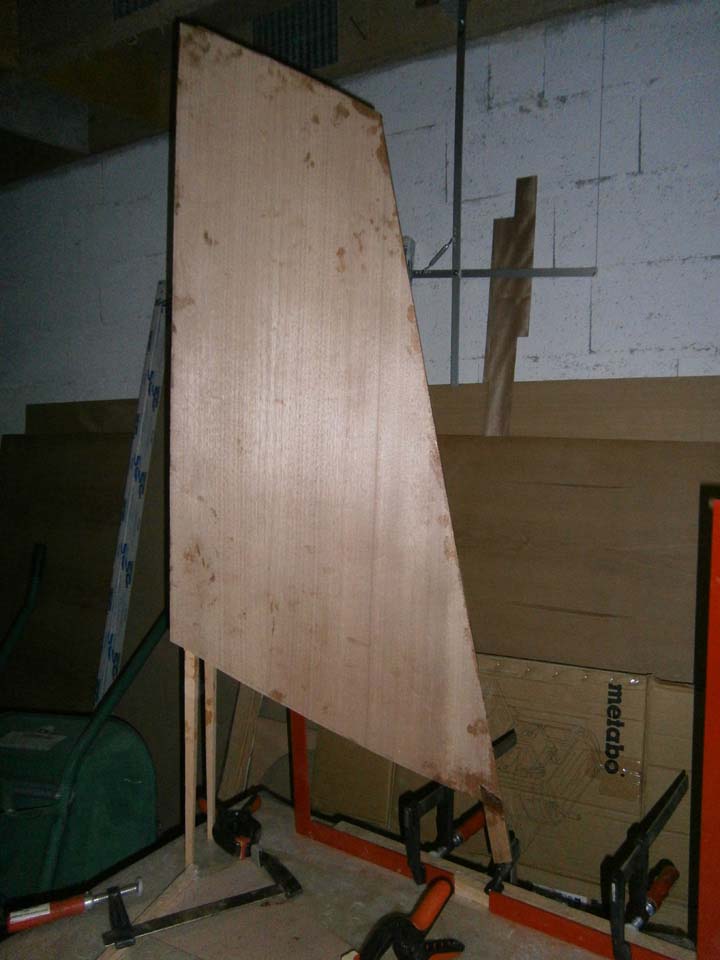
| Gluing the right hand side skin. | |||
|---|---|---|---|
 |
 |
 |
 |
| Skin glued. | |||
|---|---|---|---|
 |
 |
 |
 |

| Fire wall: gluing the Skin and internal foam (AIREX) . | |||
|---|---|---|---|
 |
 |
||
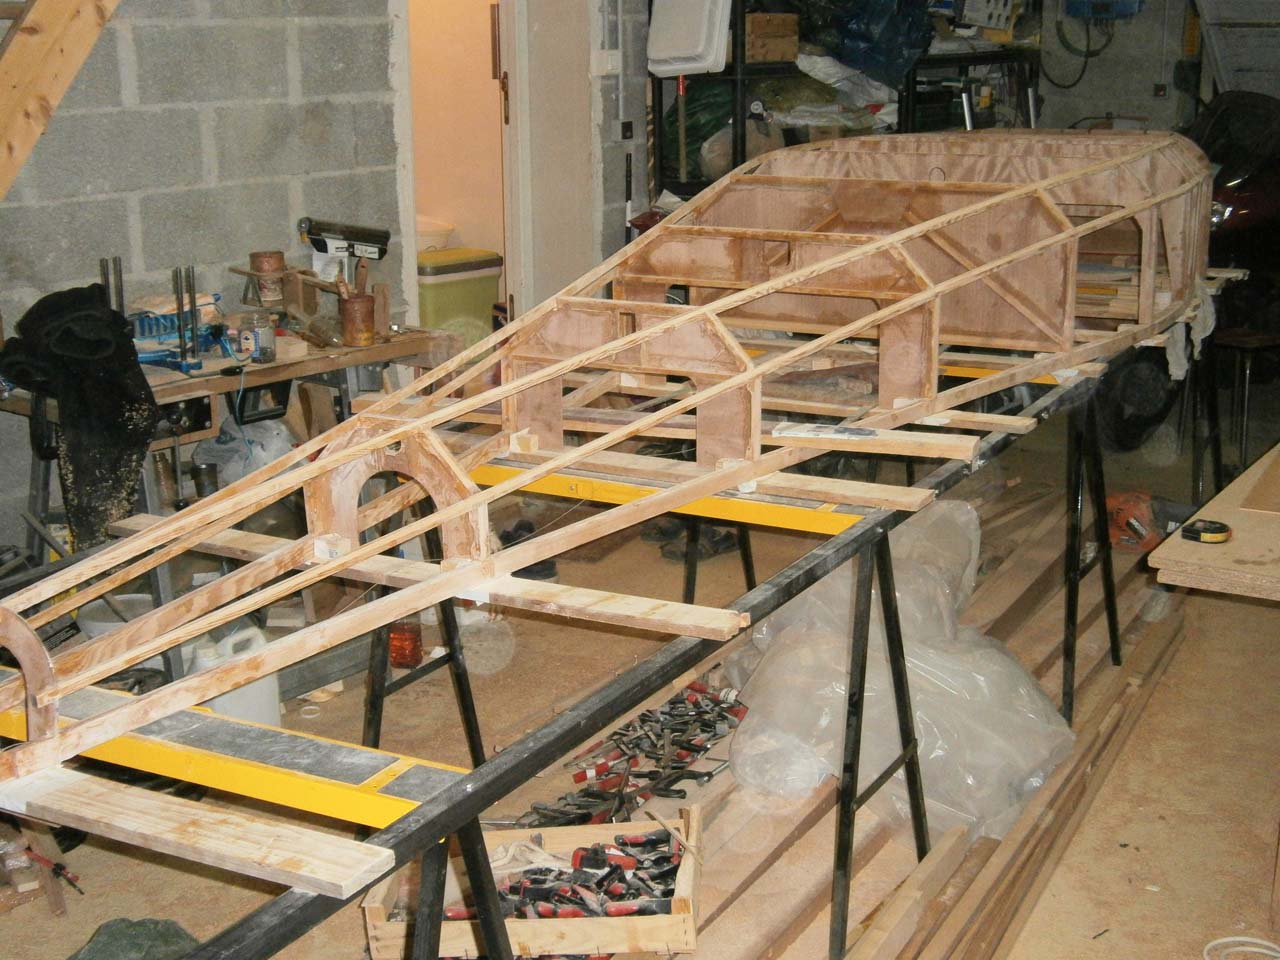
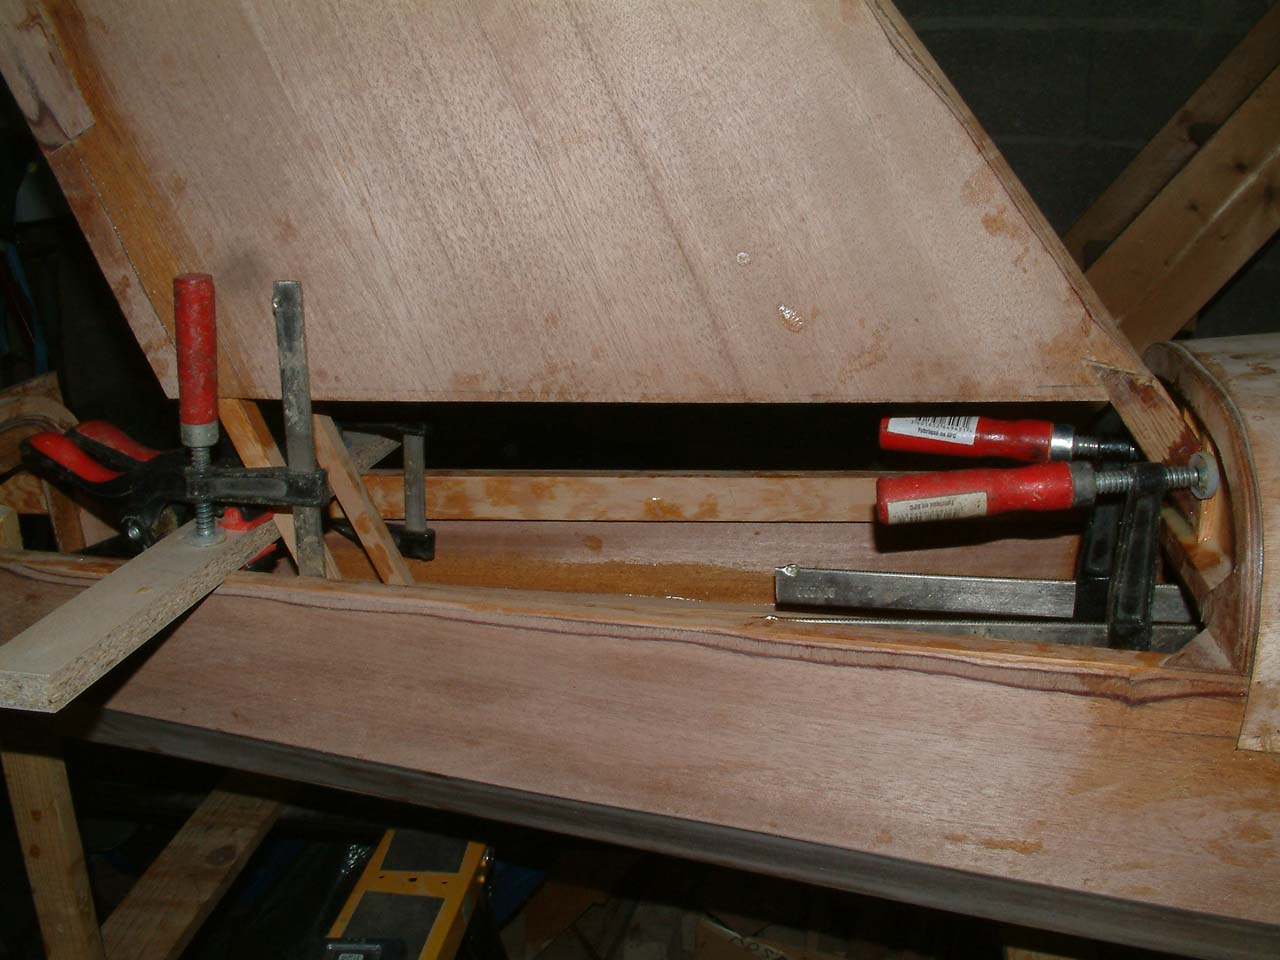
| Gluing the fuselage structure. | |||
|---|---|---|---|
 |
 |
 |
 |
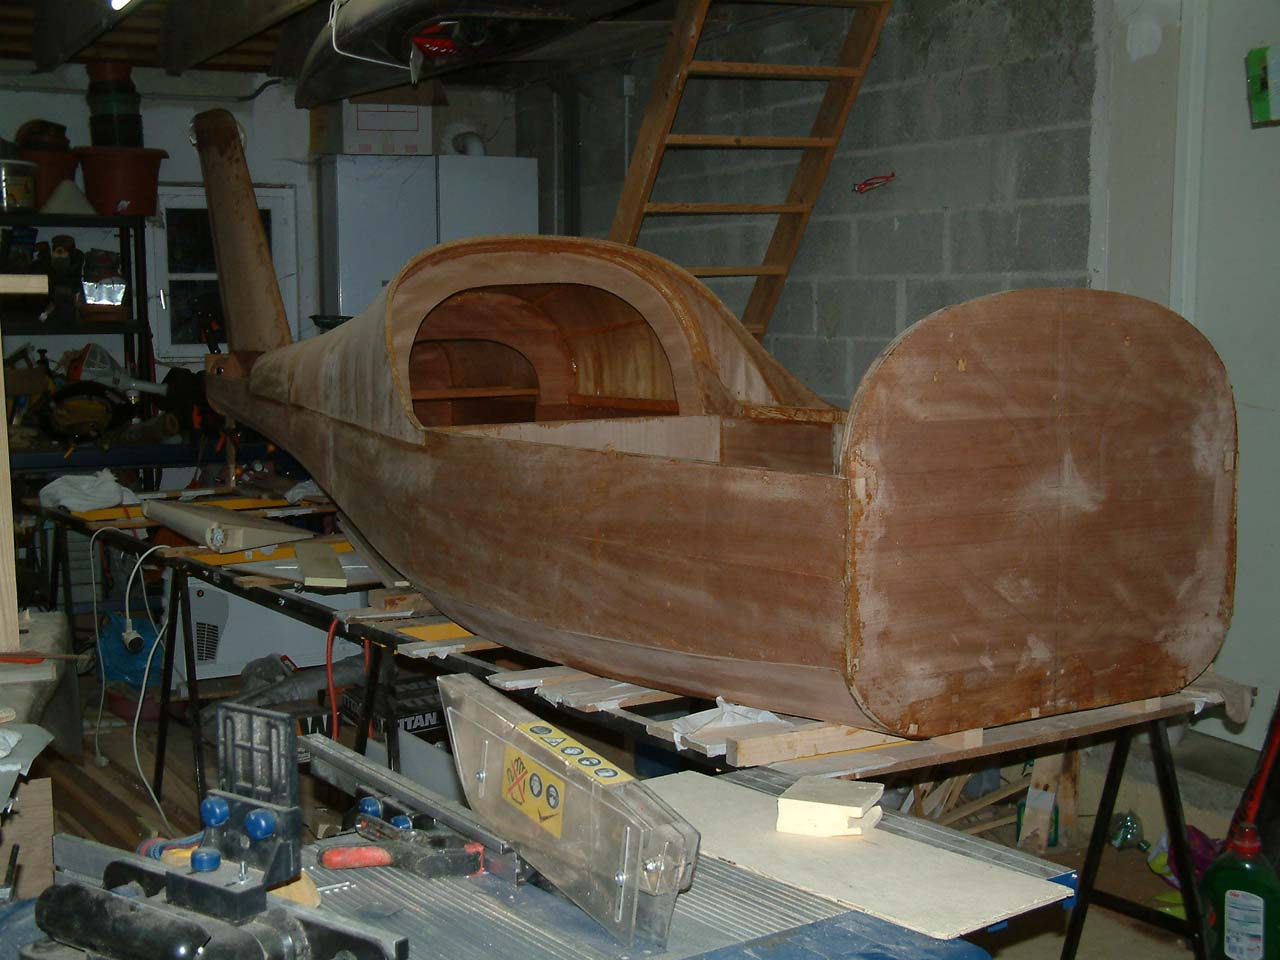
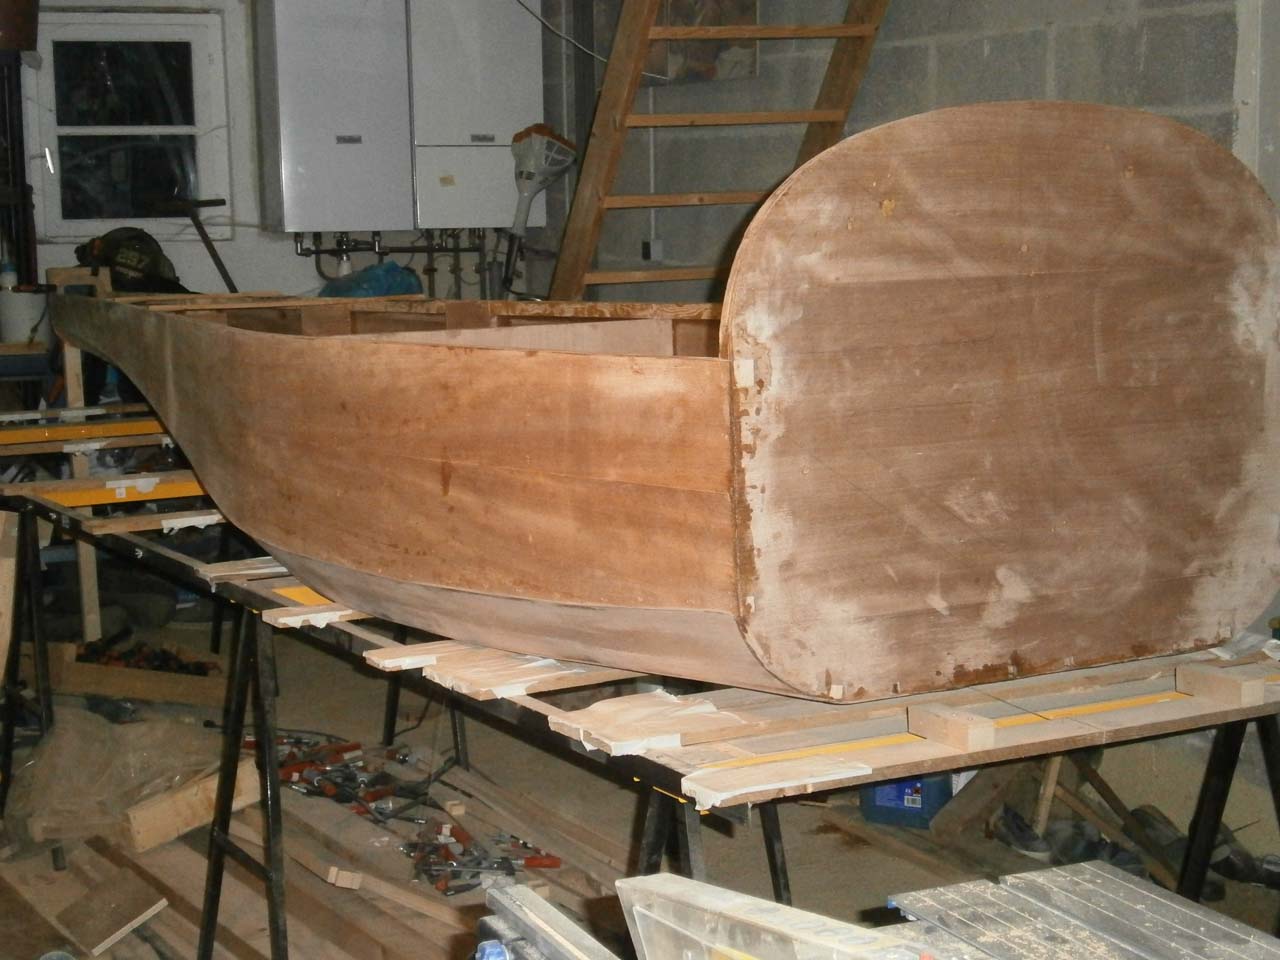
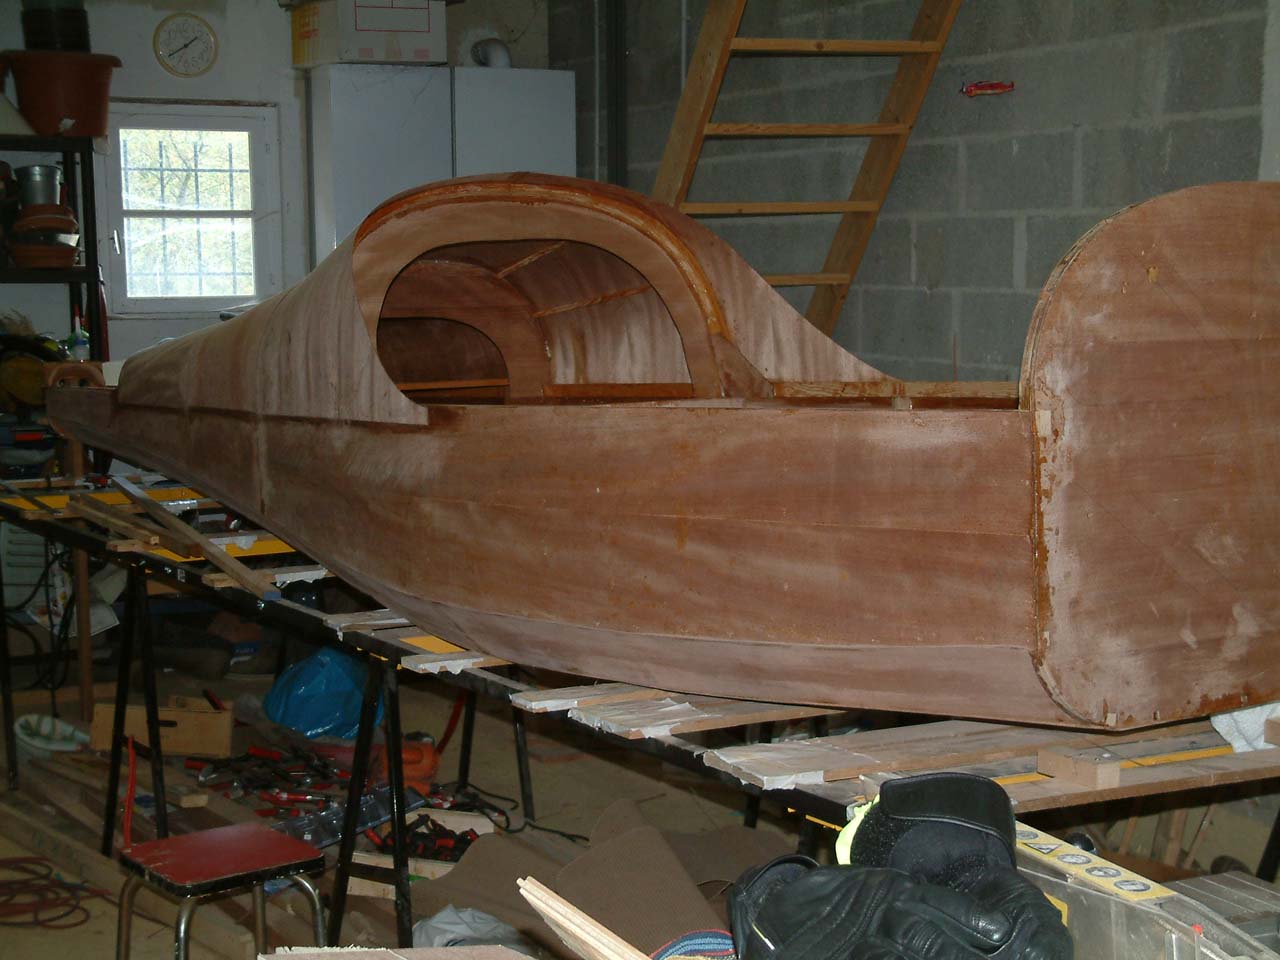
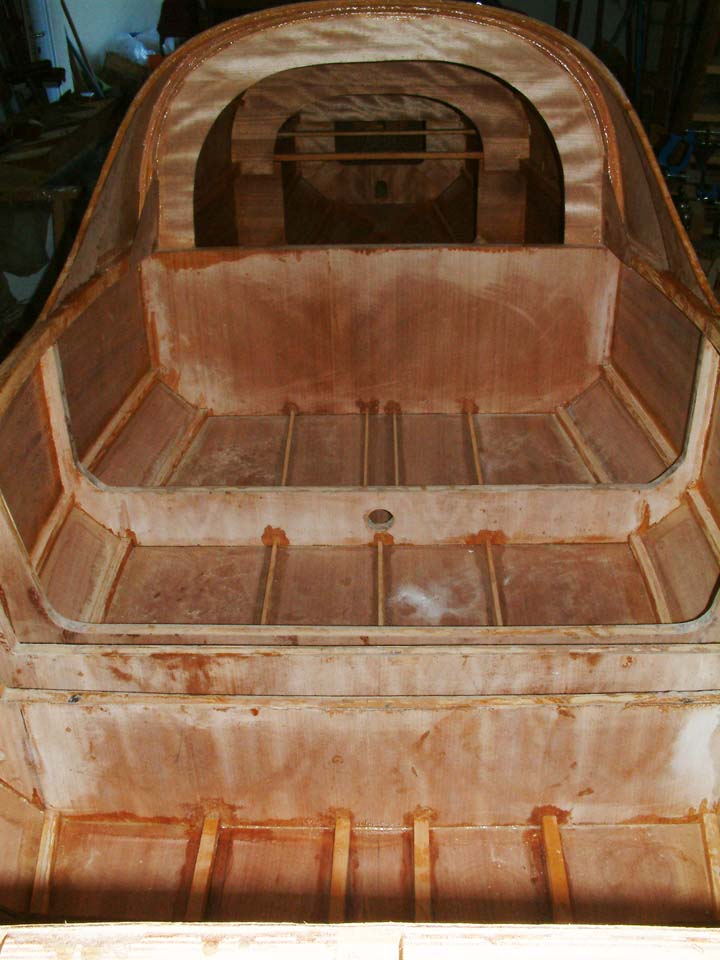
| Fuselage Structure Completed. | ||
|---|---|---|
 |
 |
 |


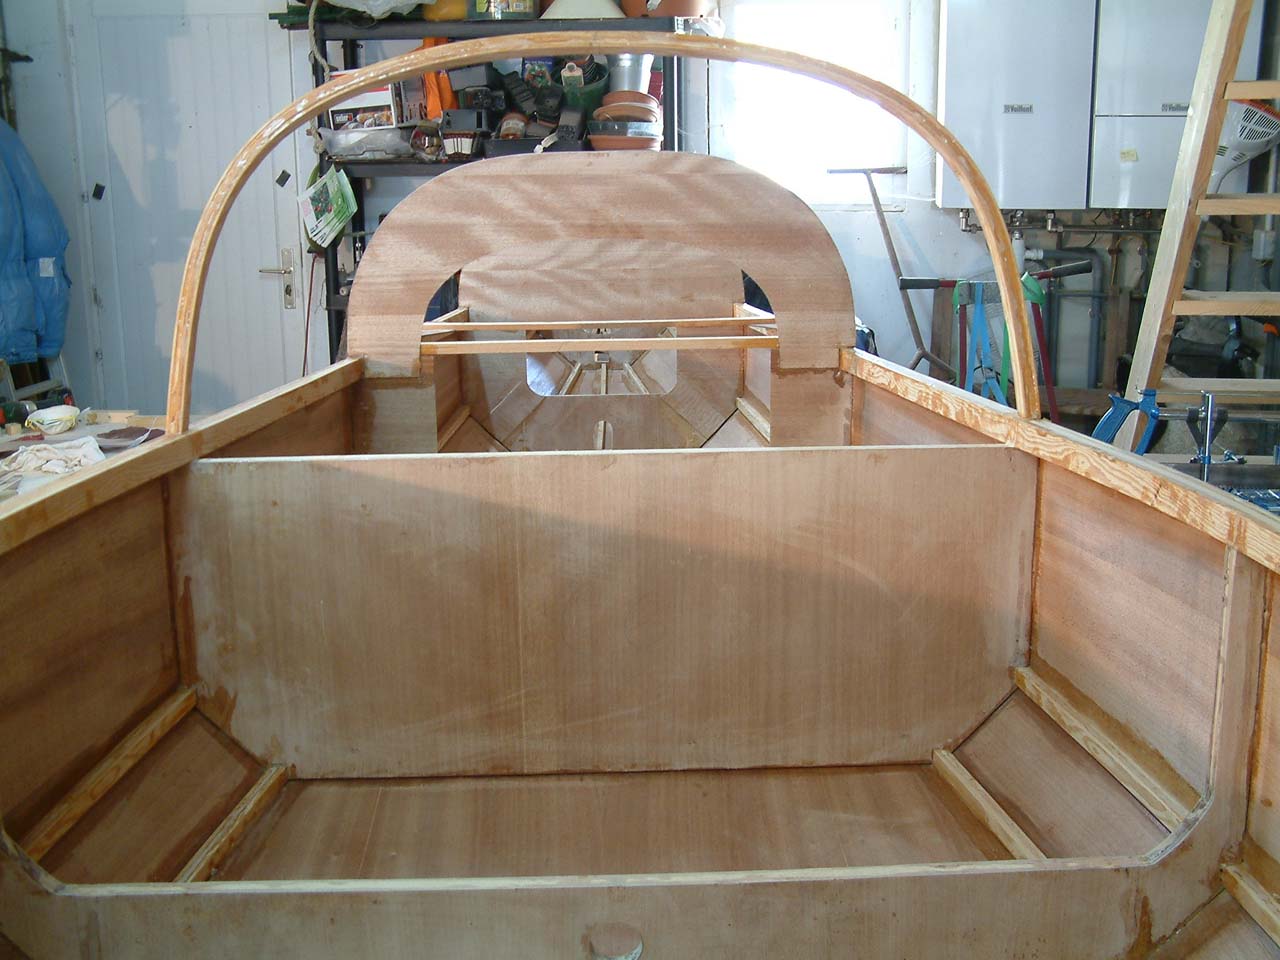
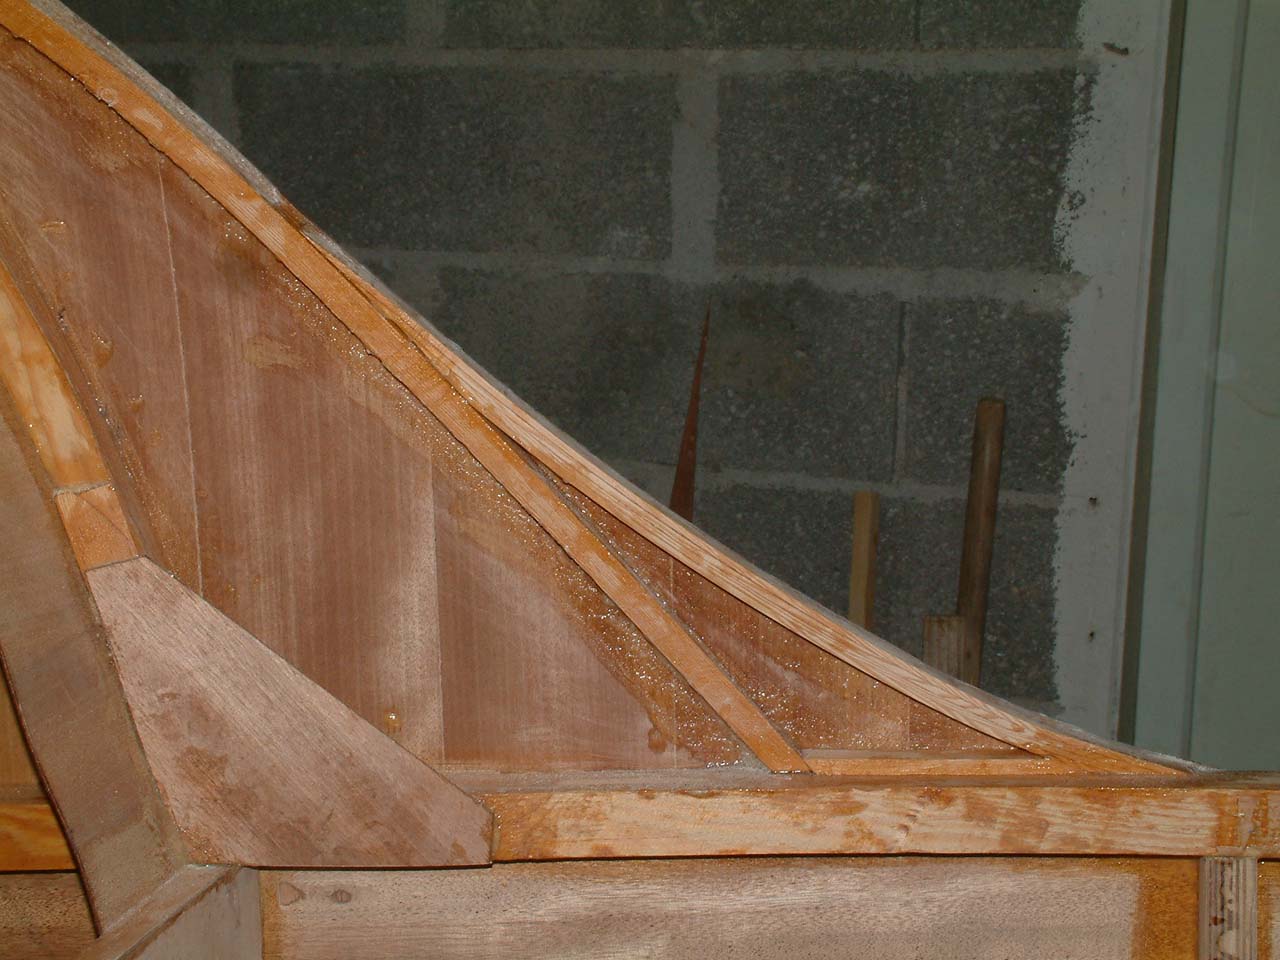
| Formers glued | ||
|---|---|---|
 |
 |
 |
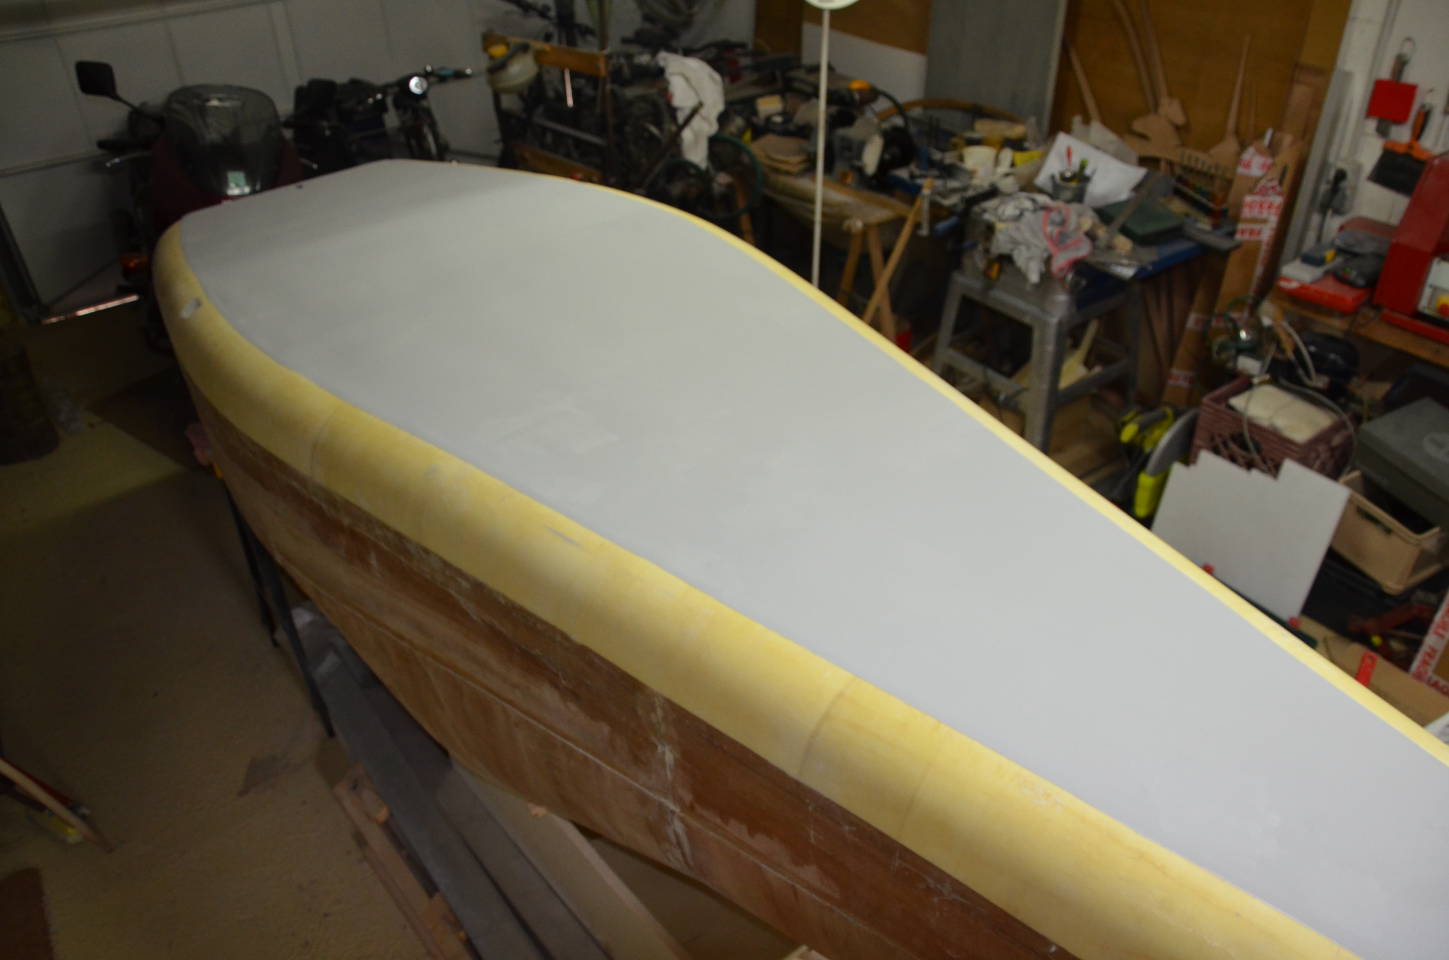
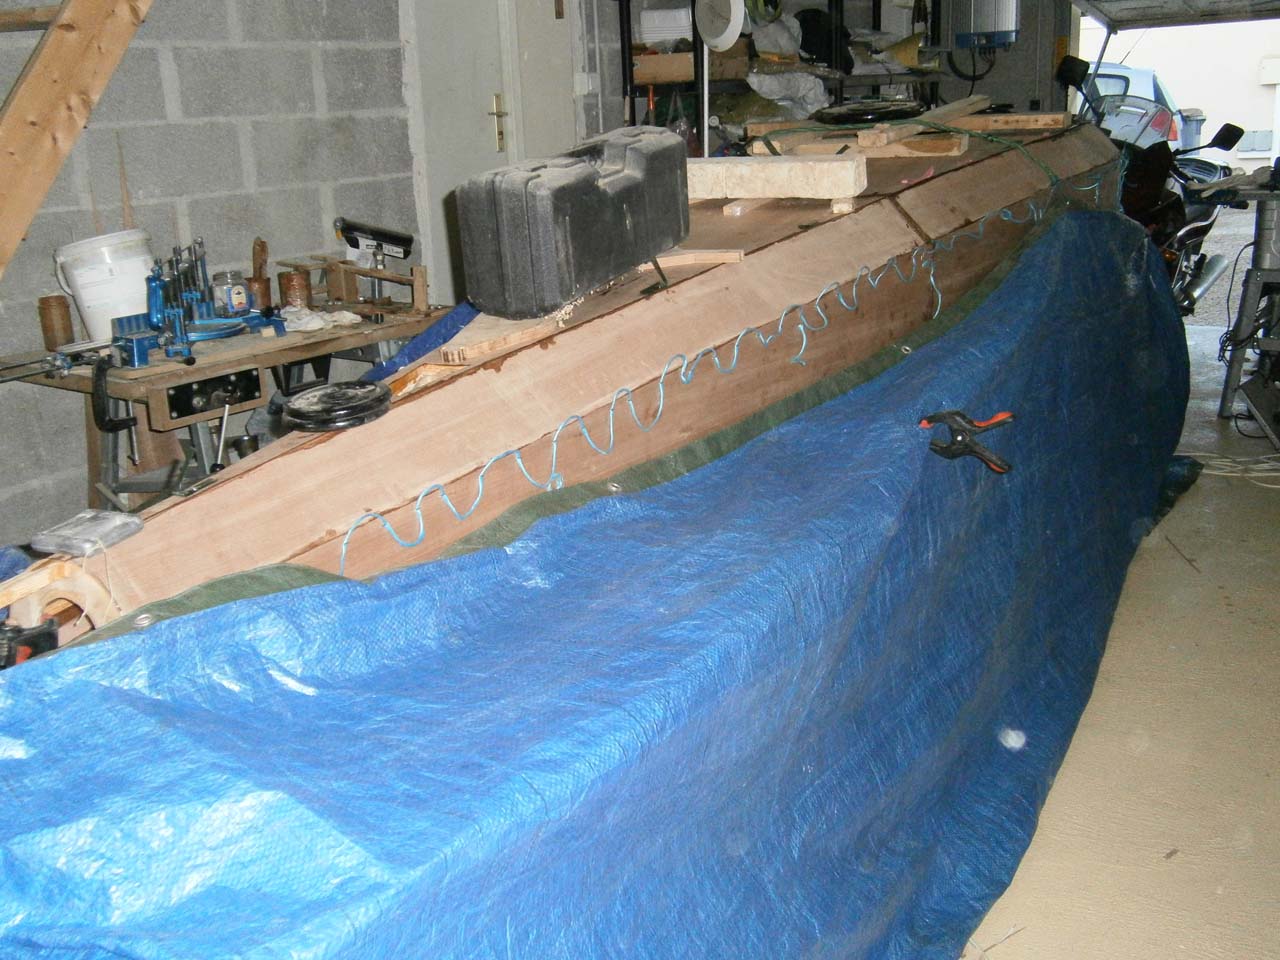
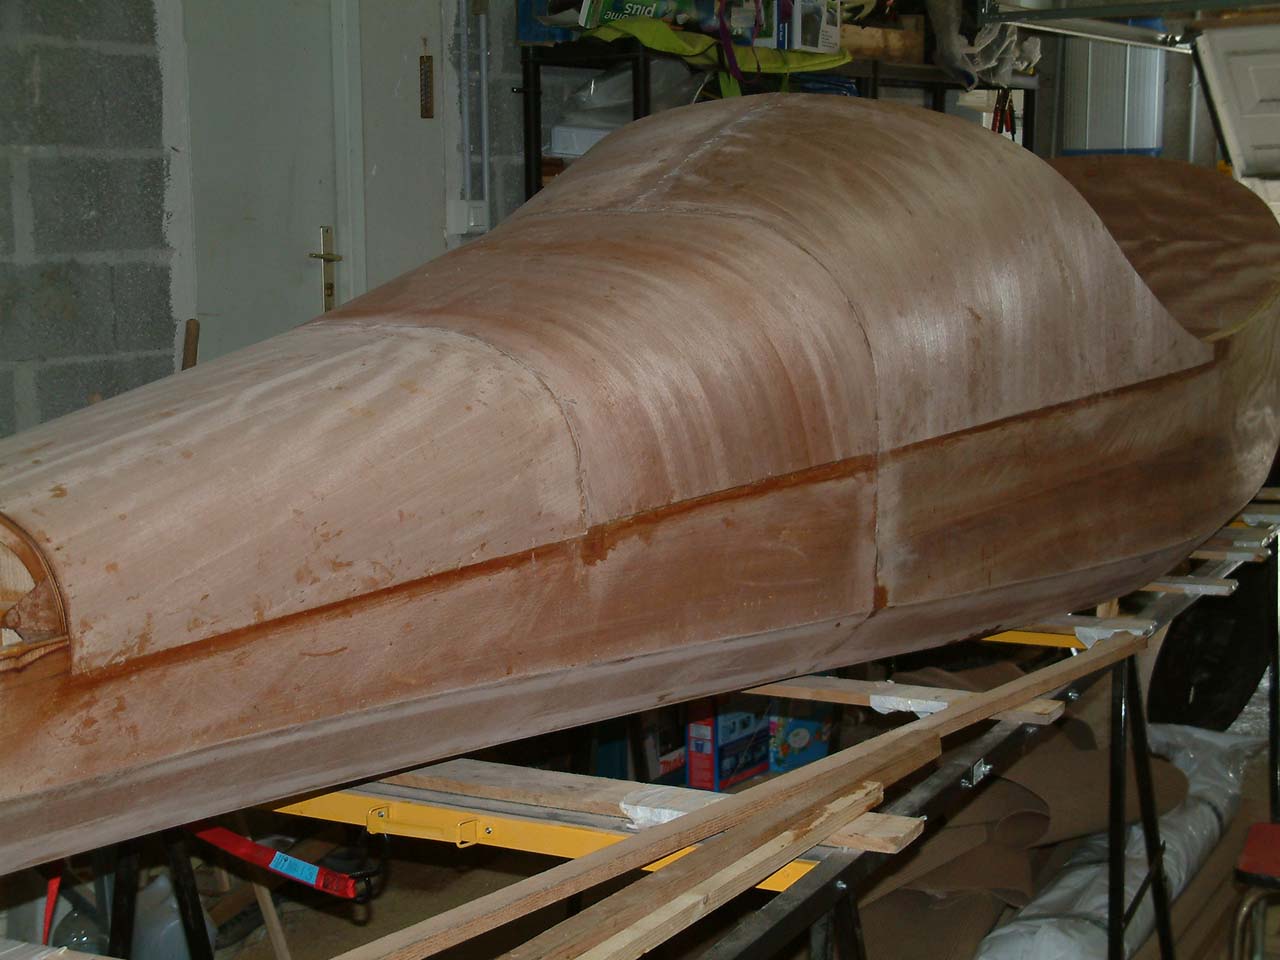
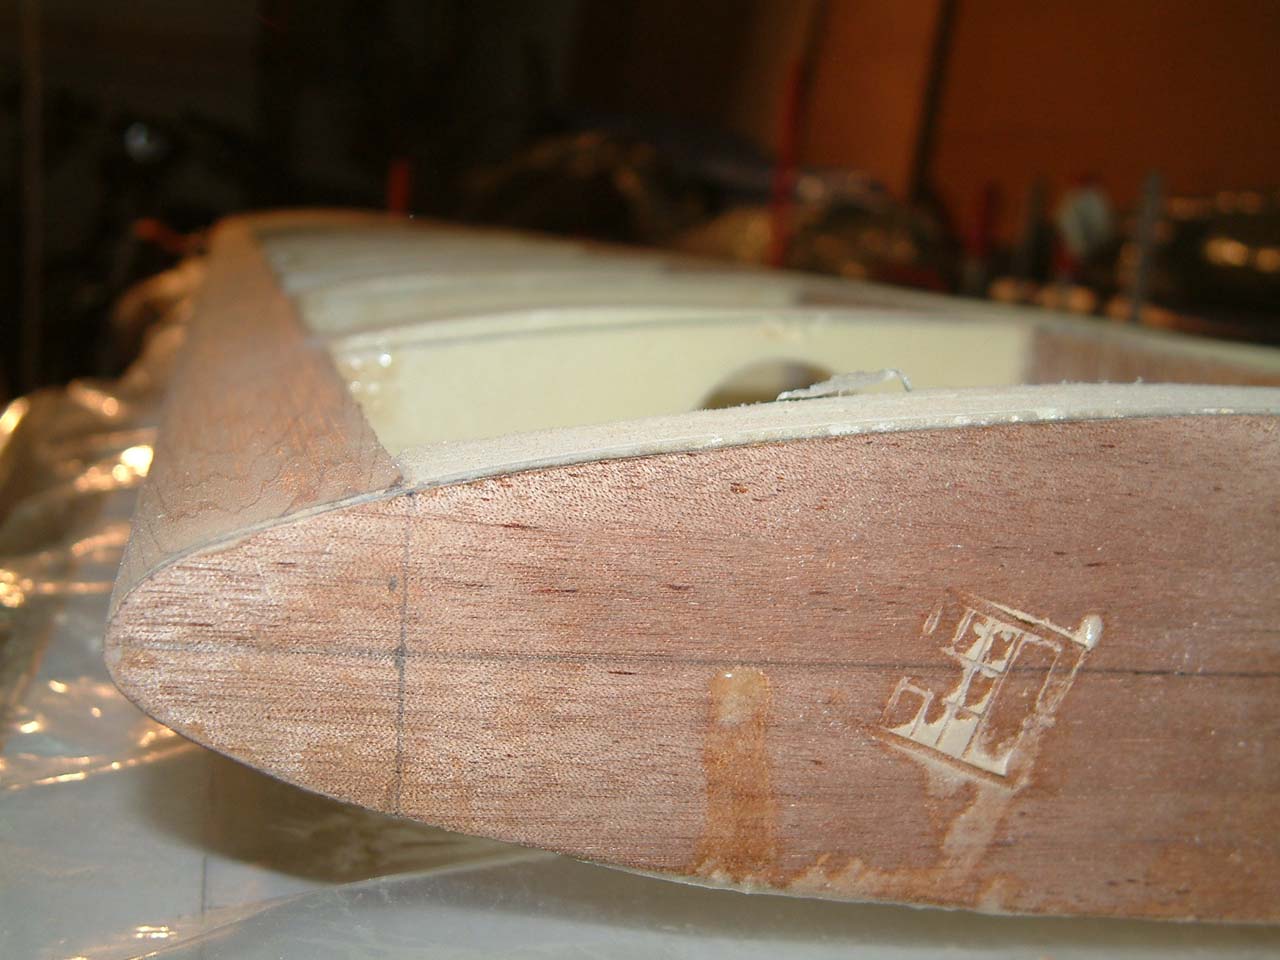
| Fuselage Skins glued. | ||
 |
 |
 |
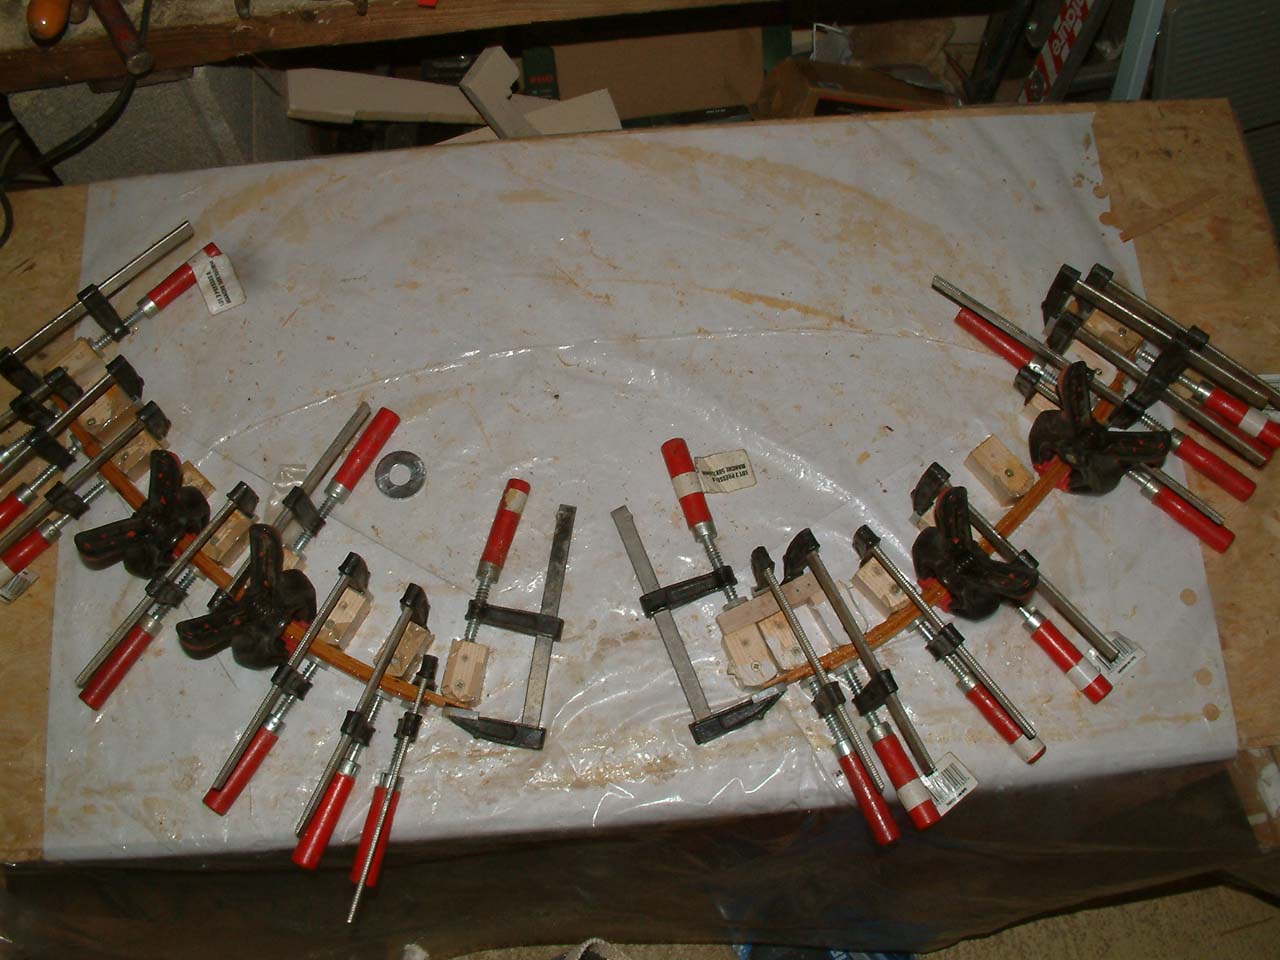
| Canopy laminated rim. | ||
|---|---|---|
 |
 |
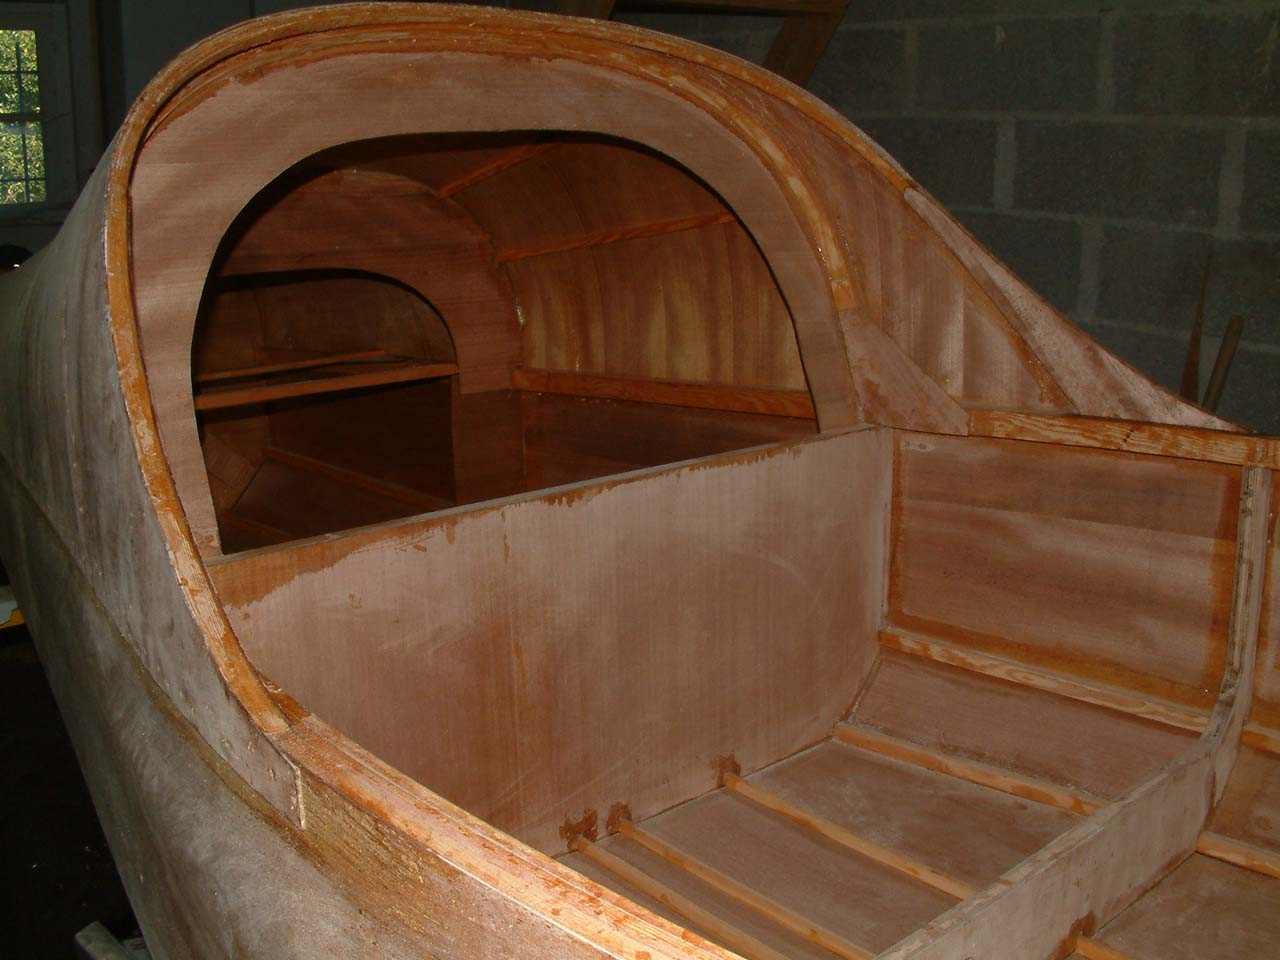 |
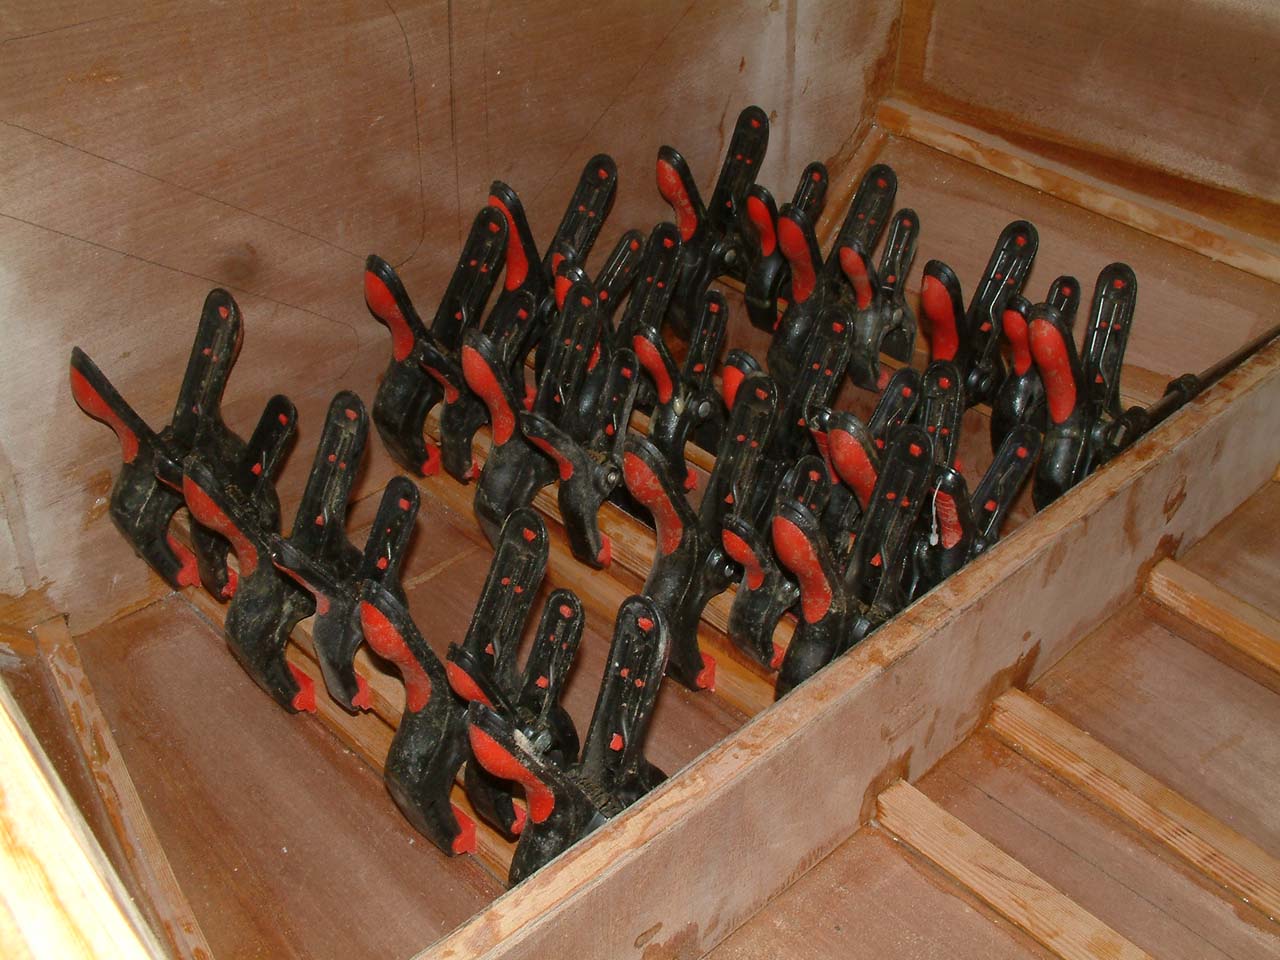
| Floor stiffeners. | ||
 |
 |
 |
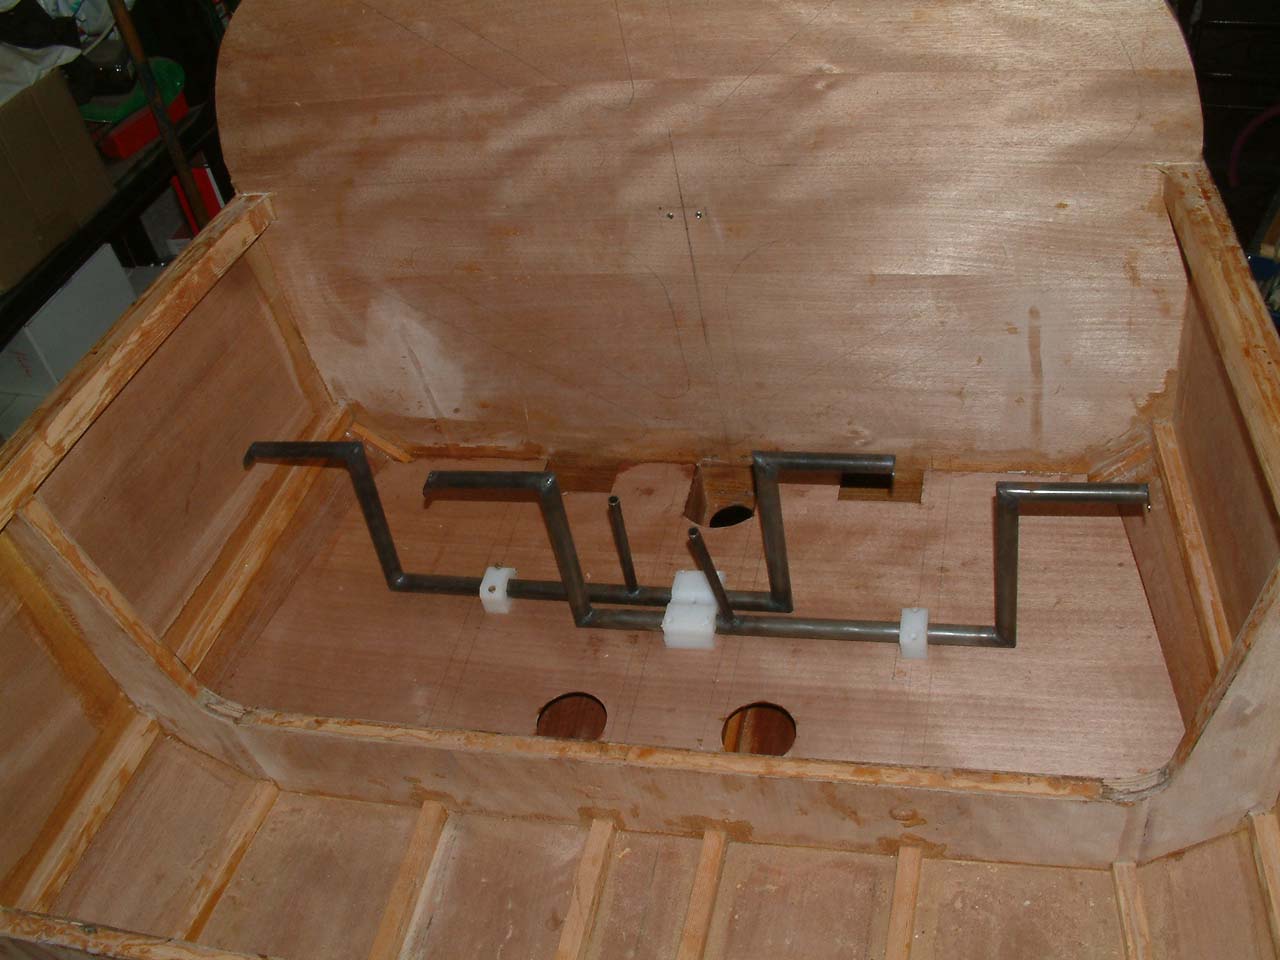
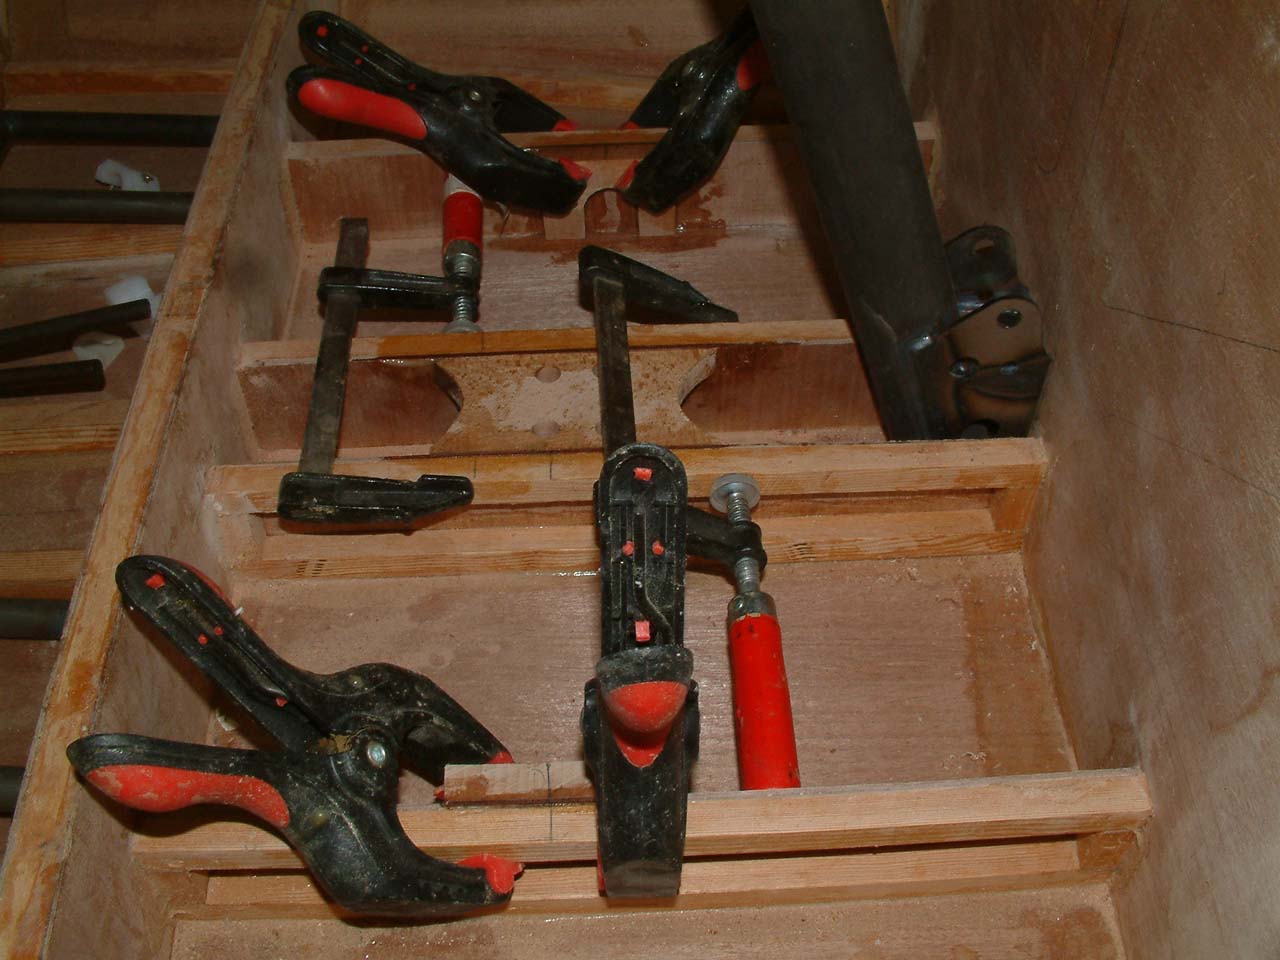
| Rudder pedals floor (Beams, wedges, flooring...). | ||
|---|---|---|
|
Gluing the beams (and stiffeners) |
Beams glued |
Gluing the beams plywood sides |
|
Gluing : wedges for the pedals |
Rudder Pedal bearing |
|
| Yaw. | ||
|
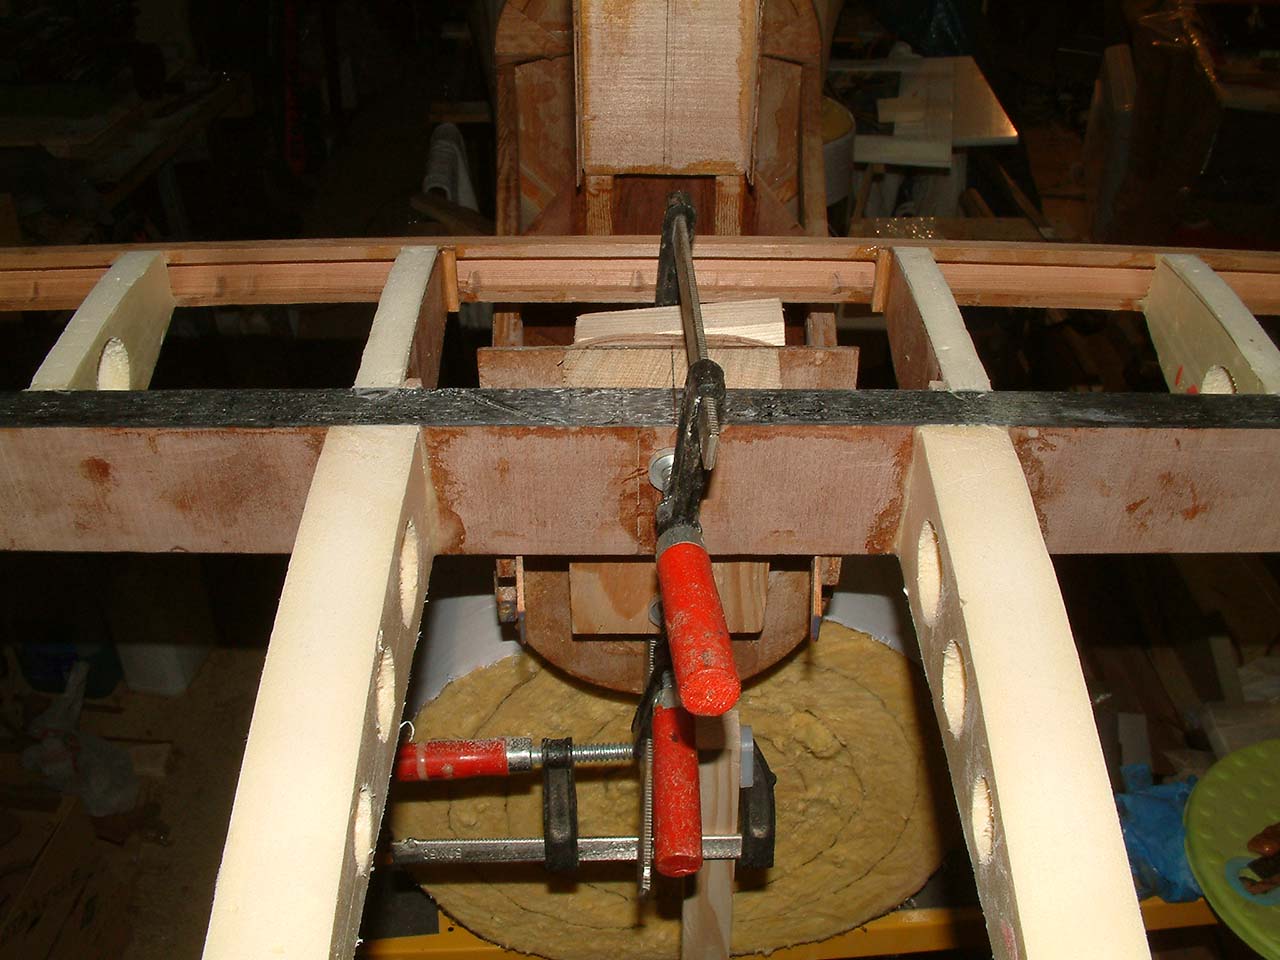
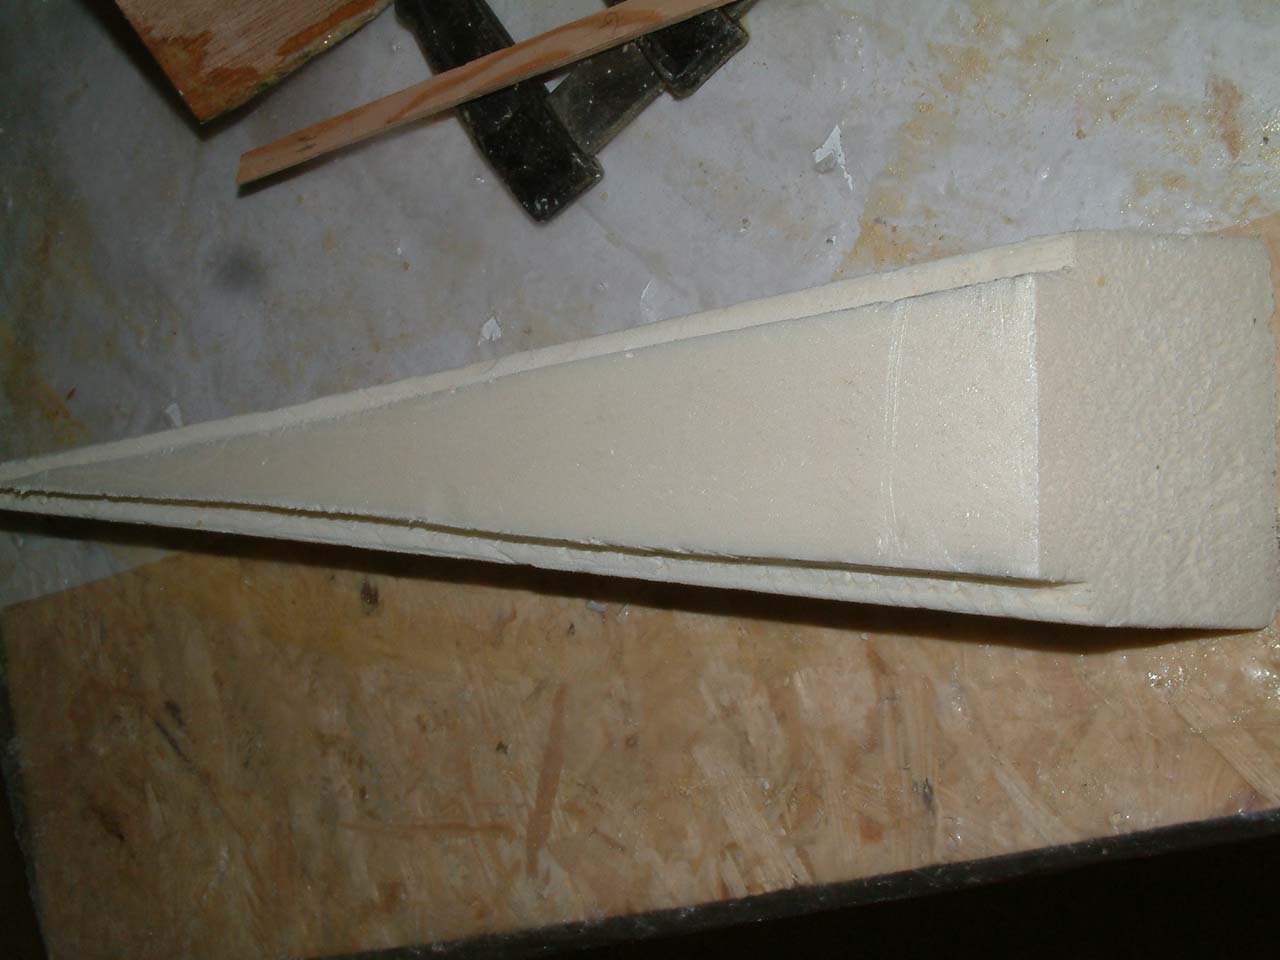
Bottom Filler |
Gluing: Bottom Filler |
Gluing left Skin |
Left Skin Glued |
||


See the fuselage page and the empennage page.
| Yaw completed | Rudder floor | |
|---|---|---|
|
|
|
|
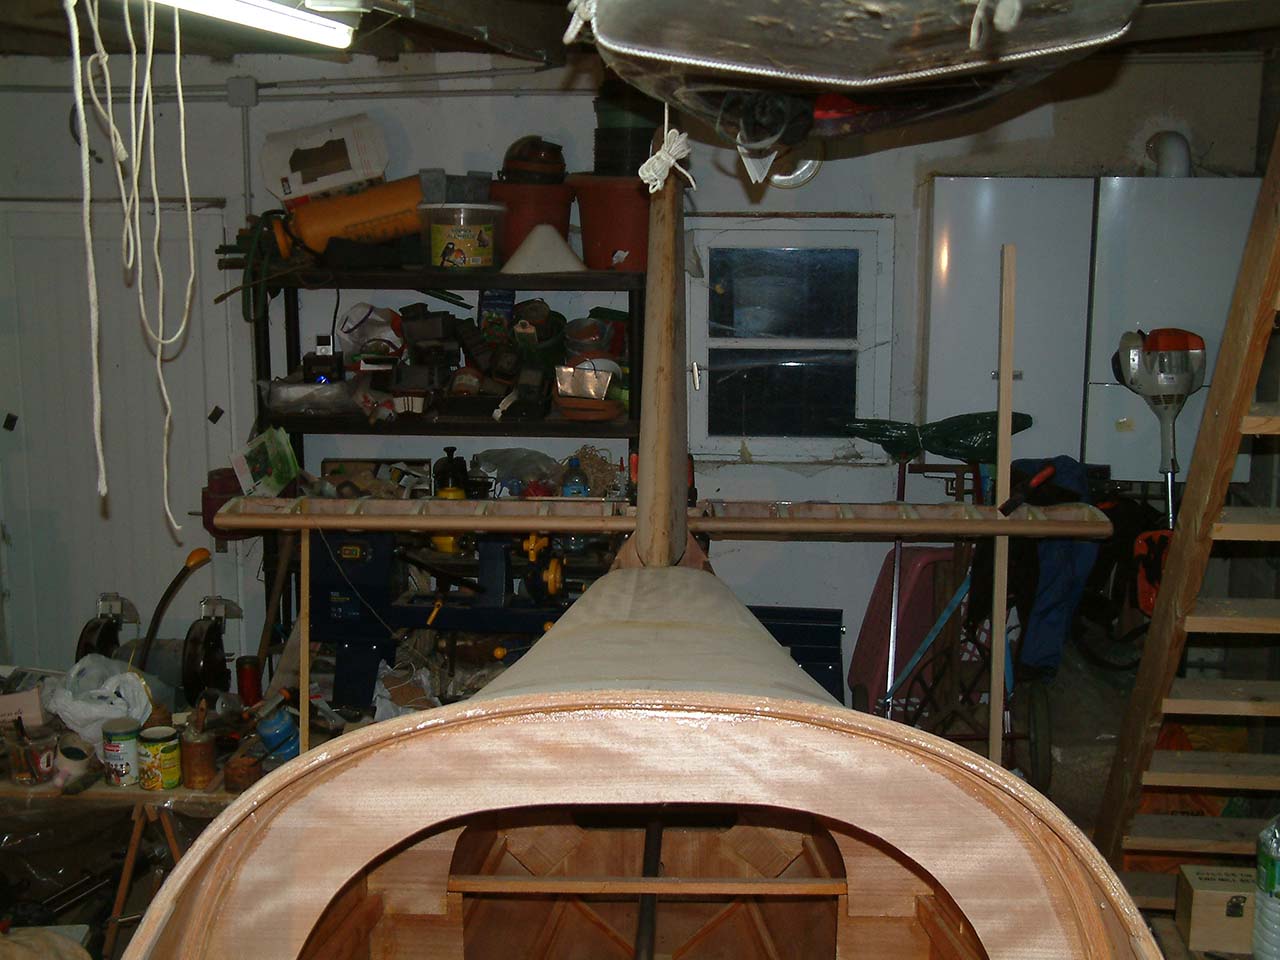
| Monting the vertical stabilizer on the fuselage | ||
|---|---|---|
|
Gluing general view and... |
... the leading egde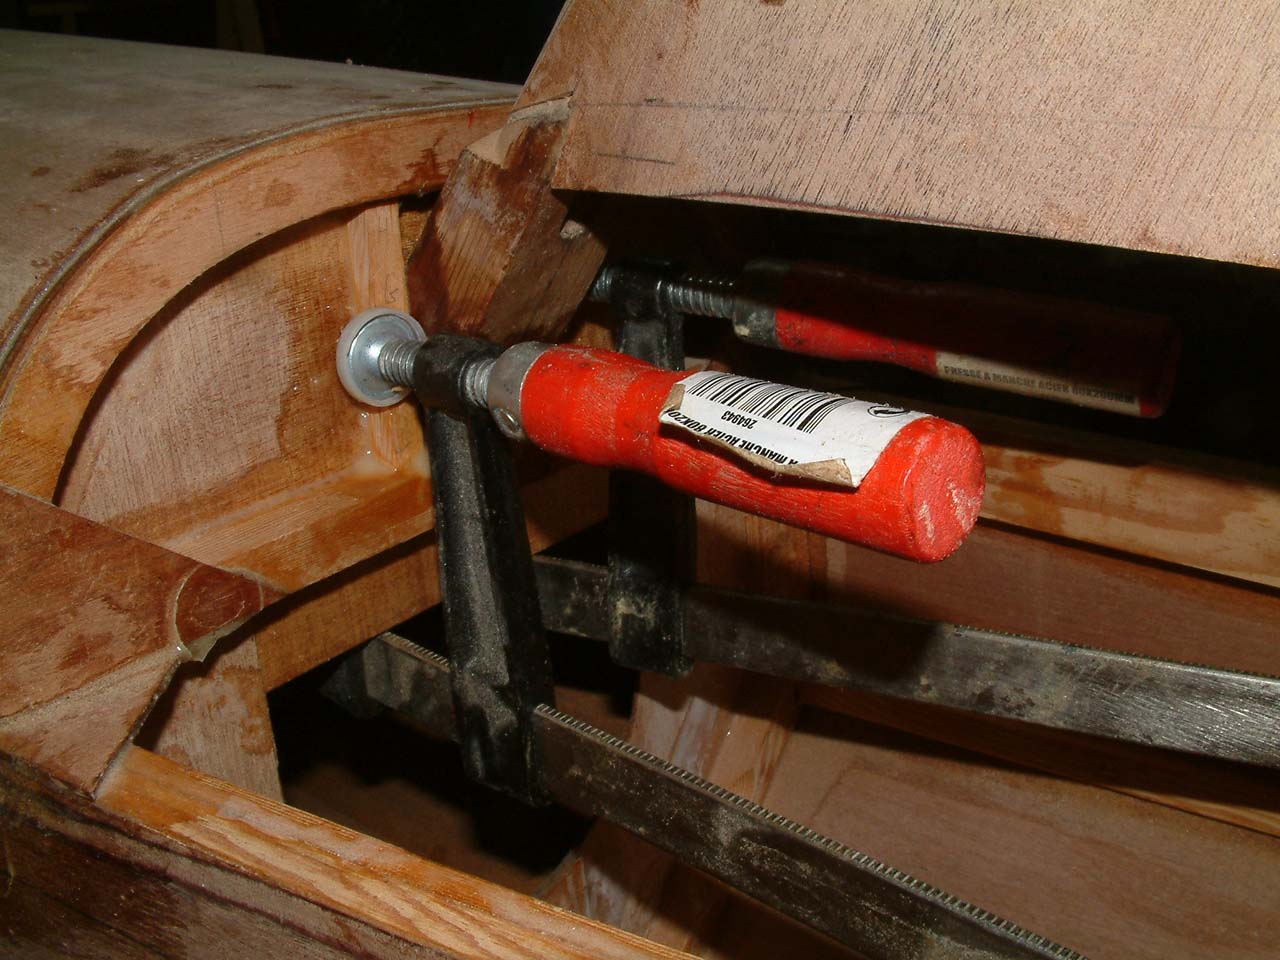 |
Fuselage with the vertical sabilizer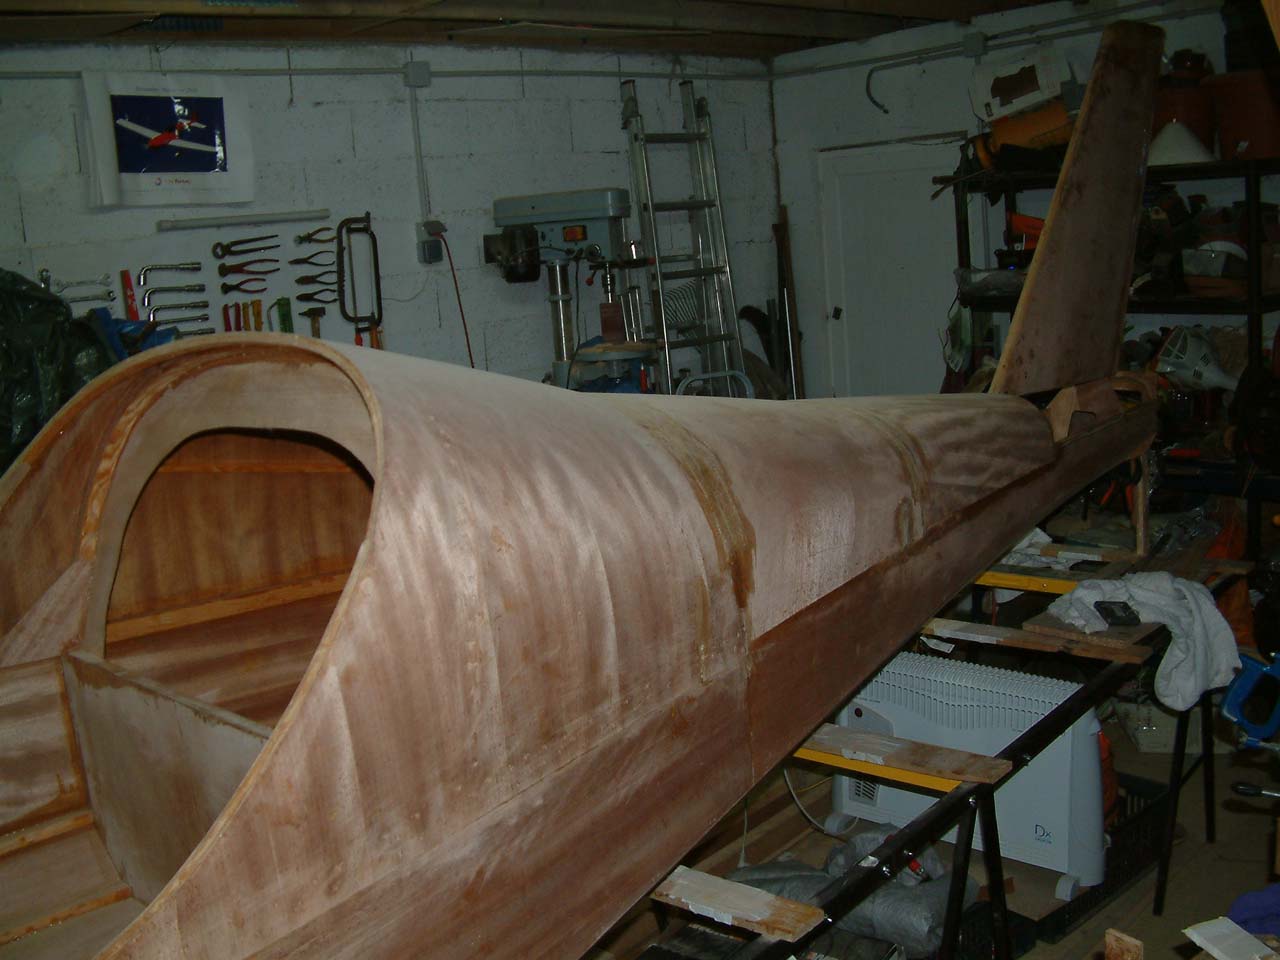 |
-
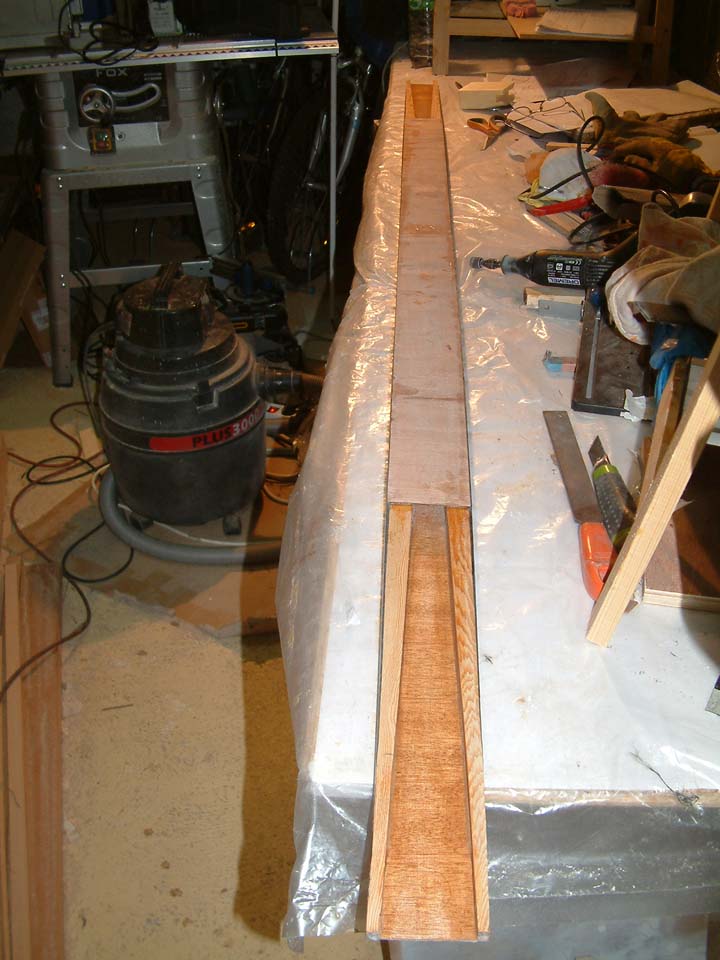
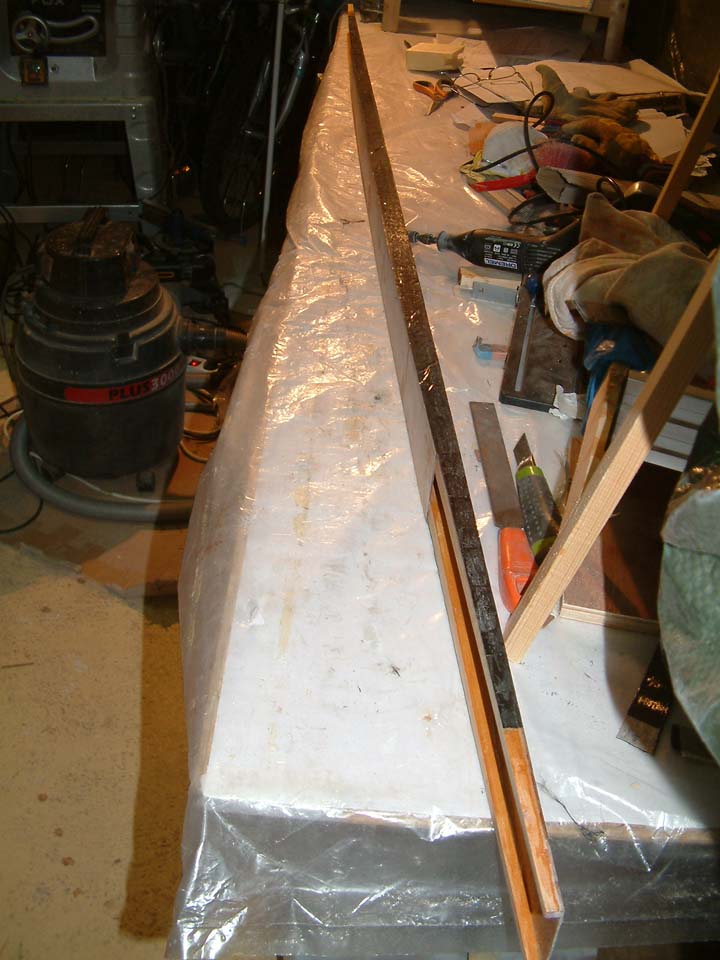
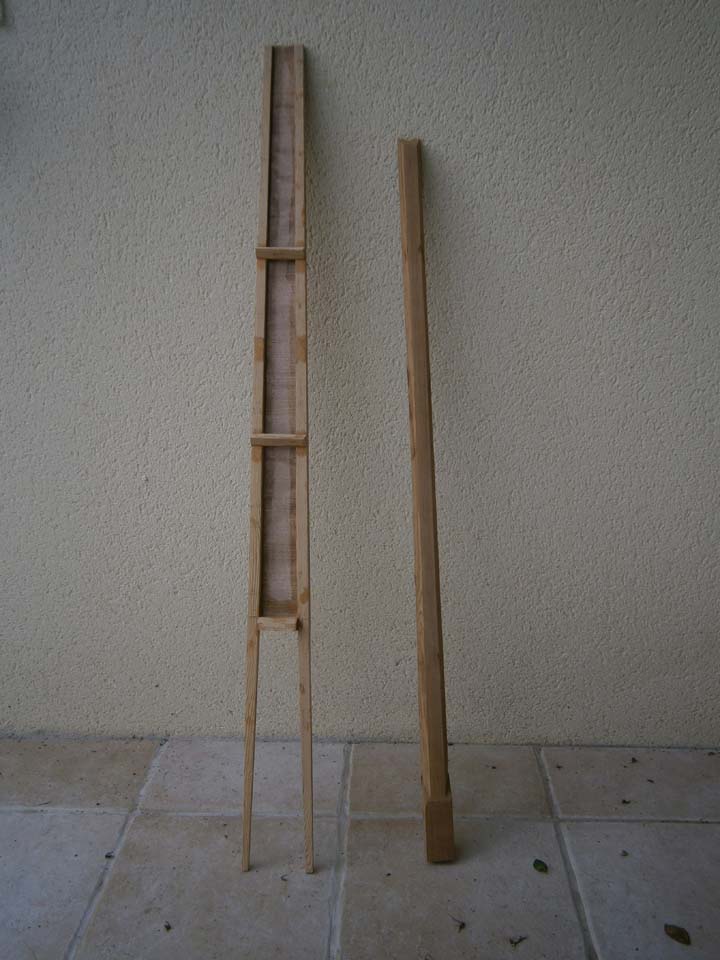
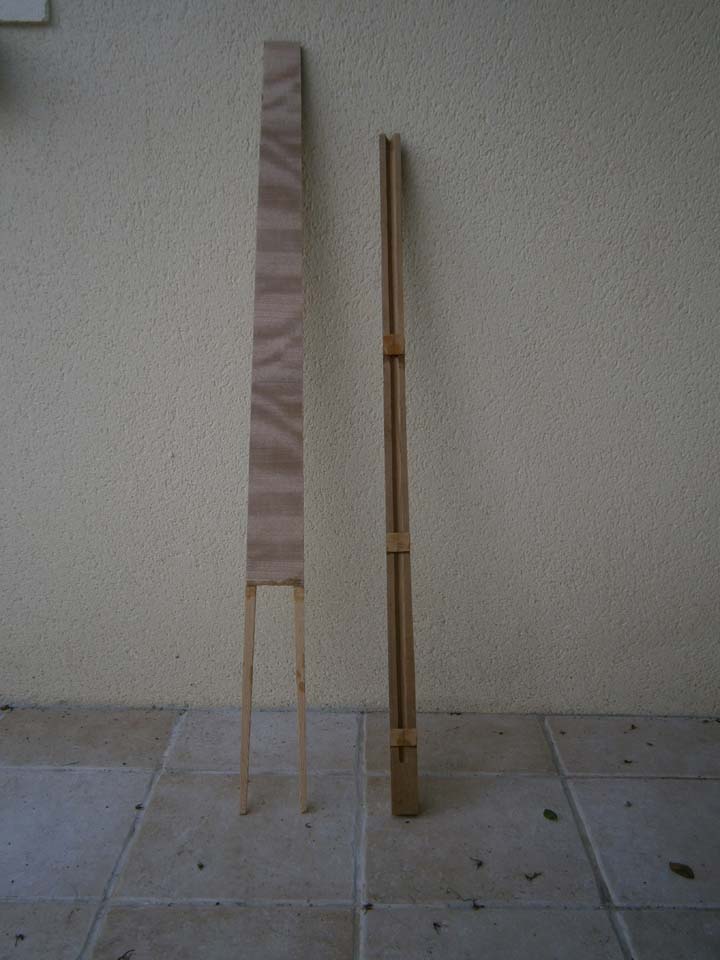
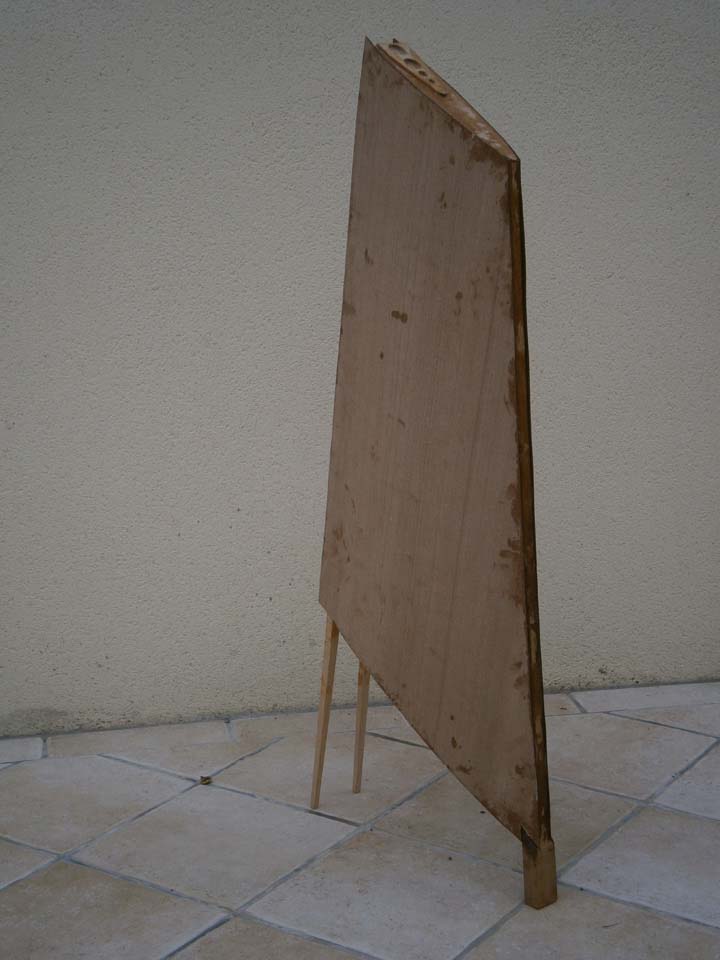
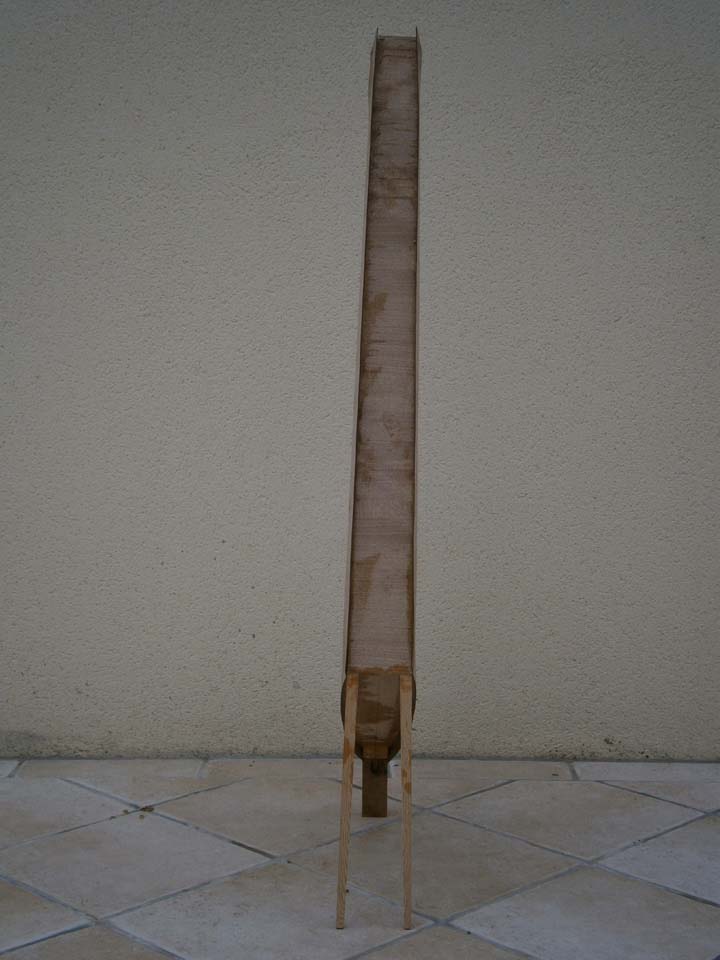
Stabilator. Structure Gluing.

Leading Edge

Structure complete

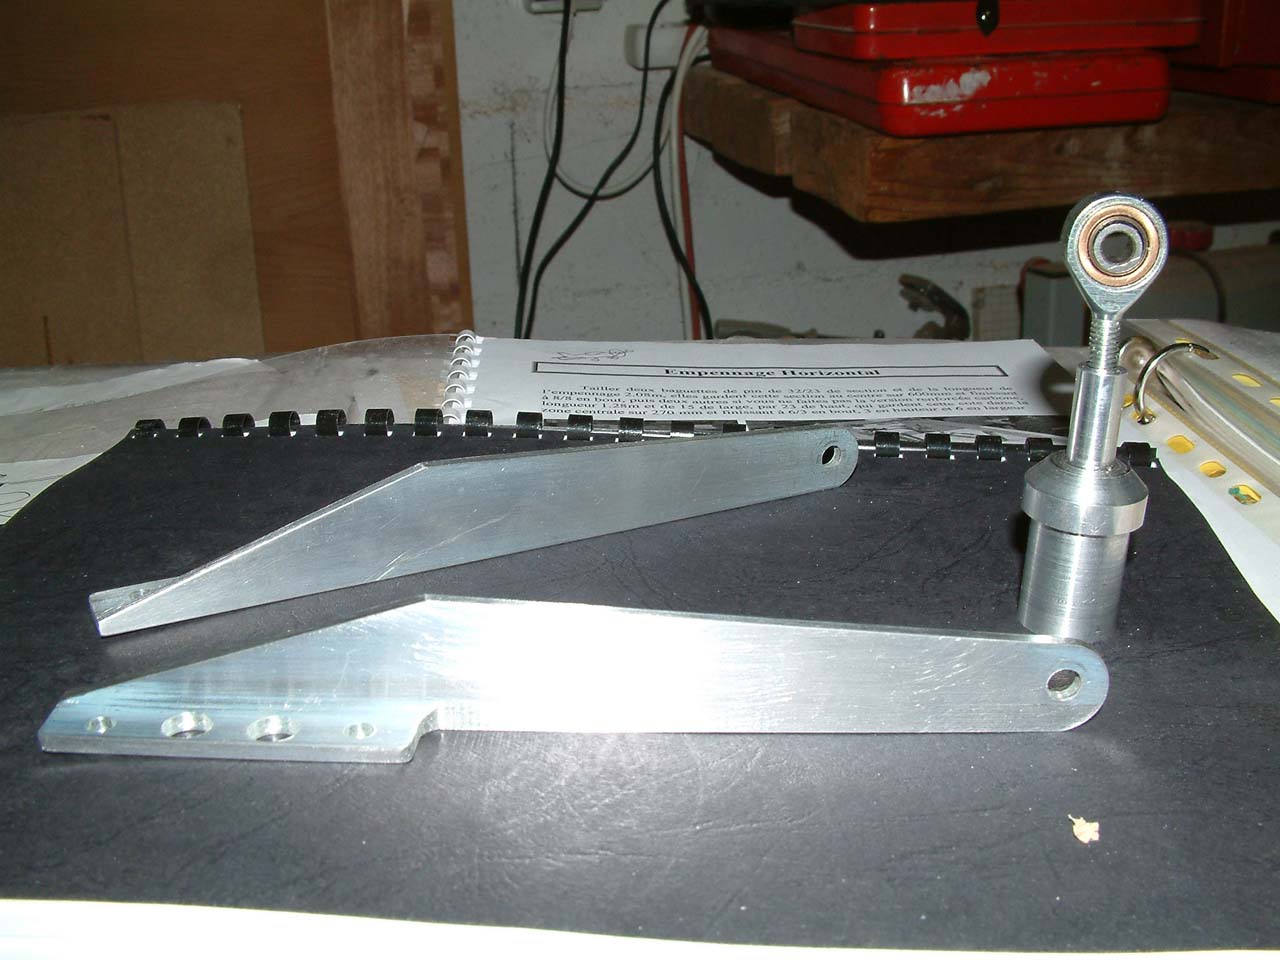
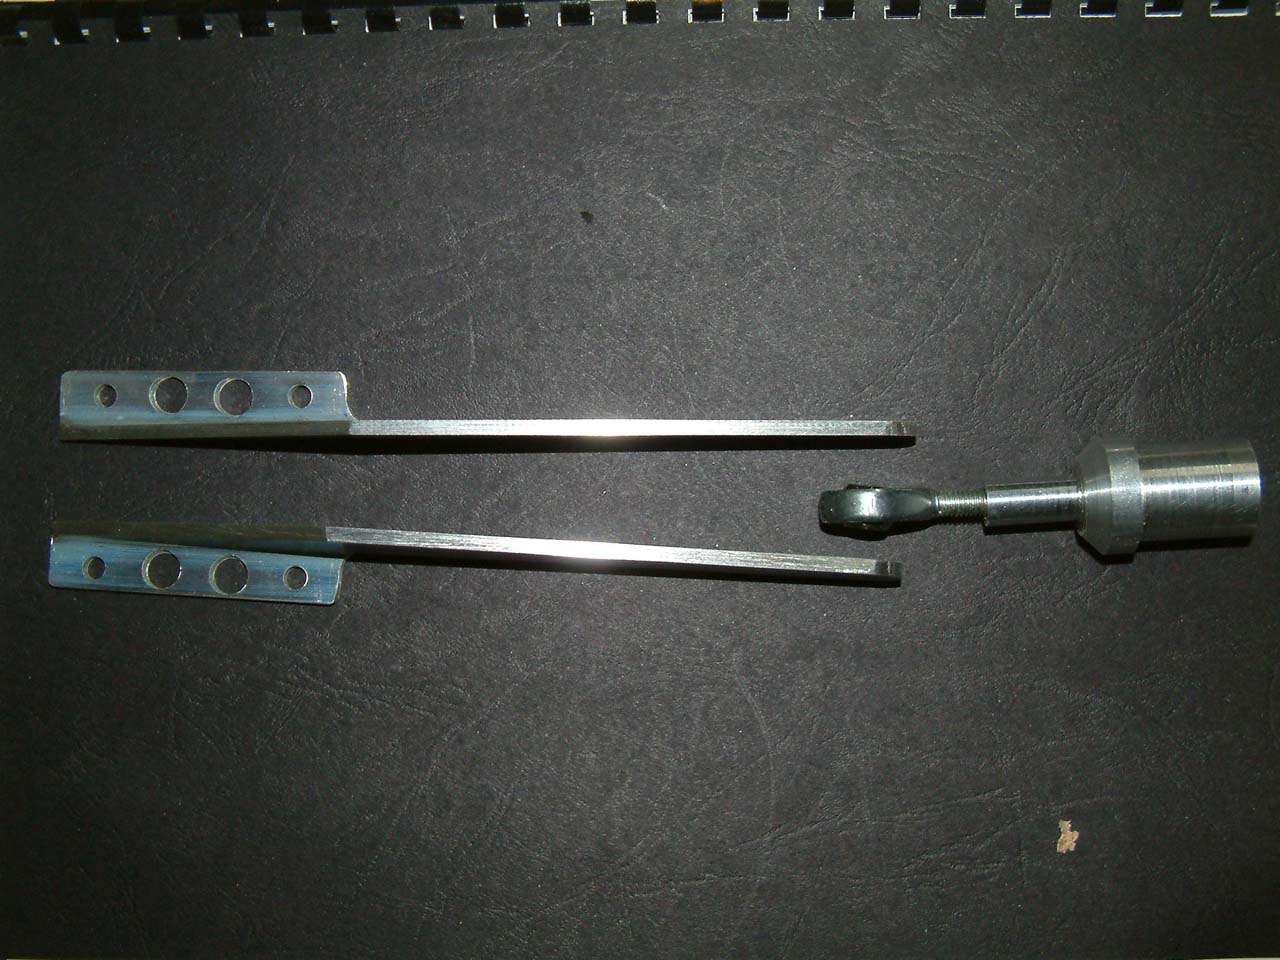
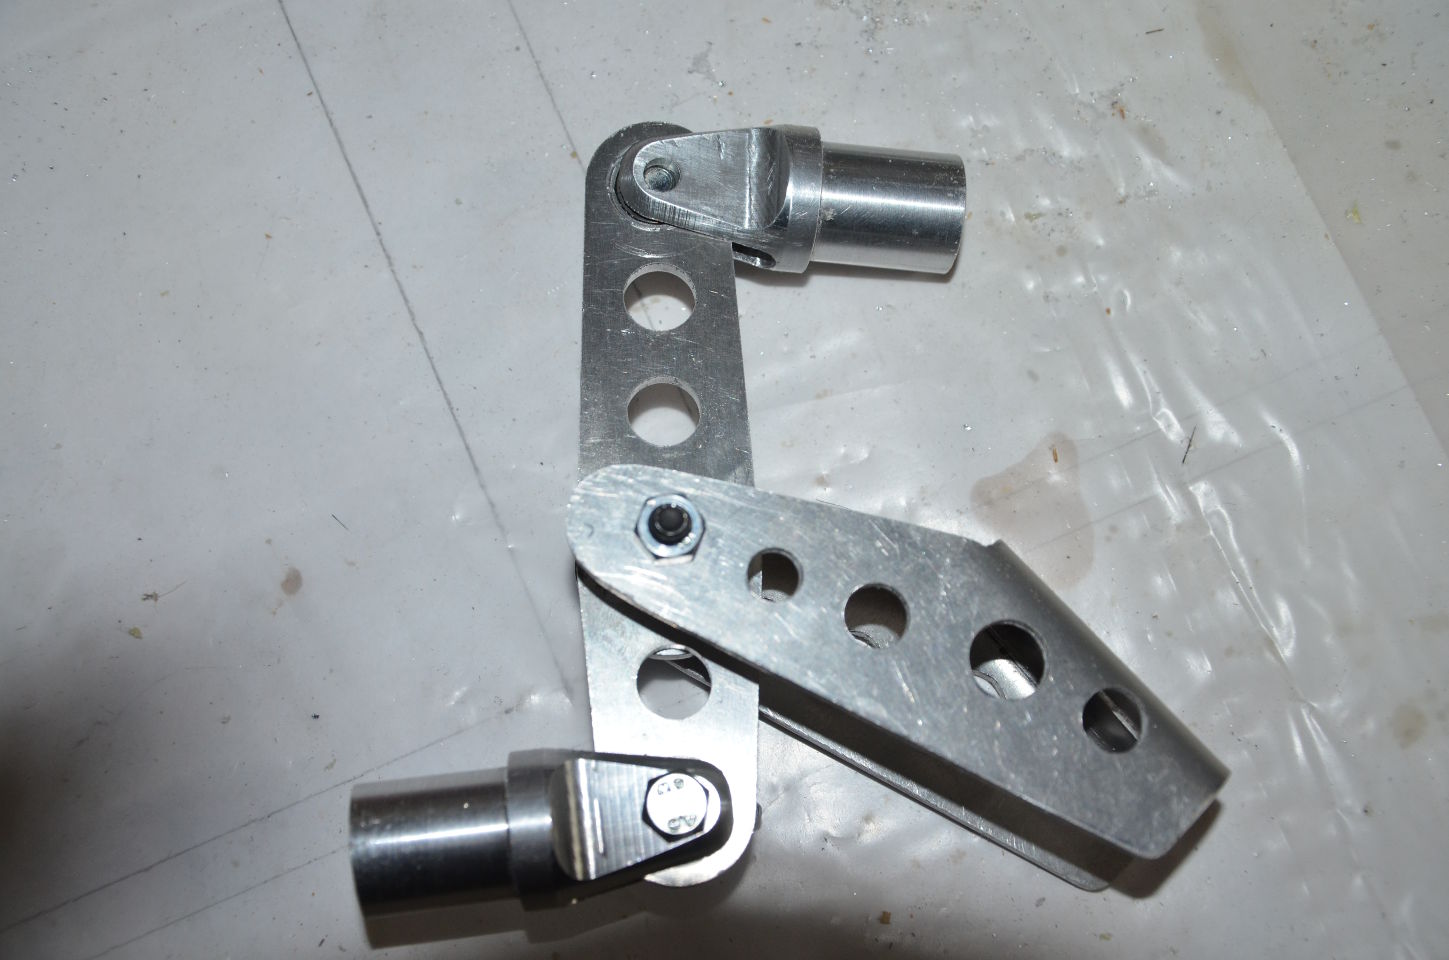
- February/April 2013: Ferrures and stabilator positioning.
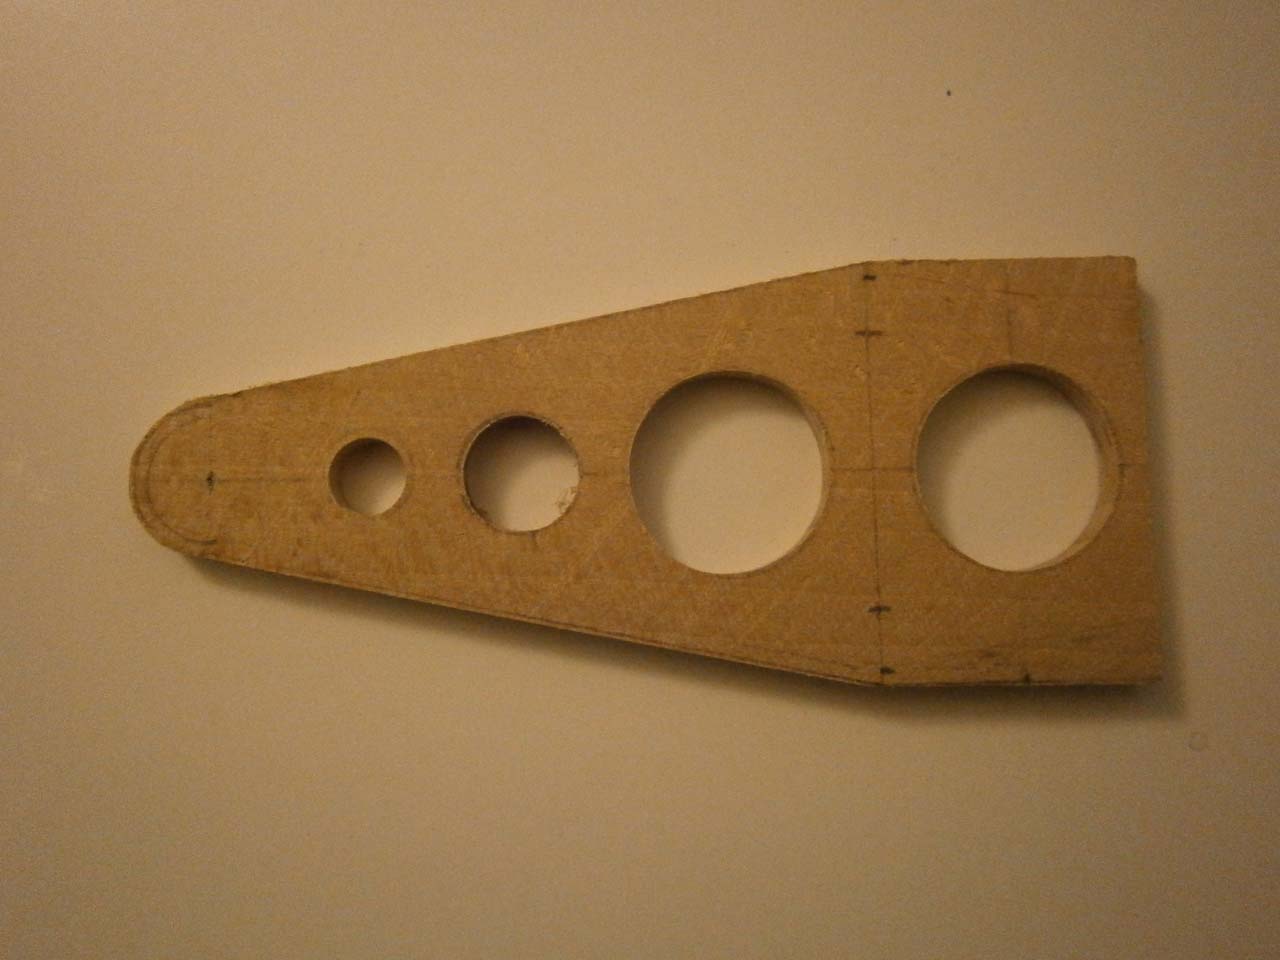
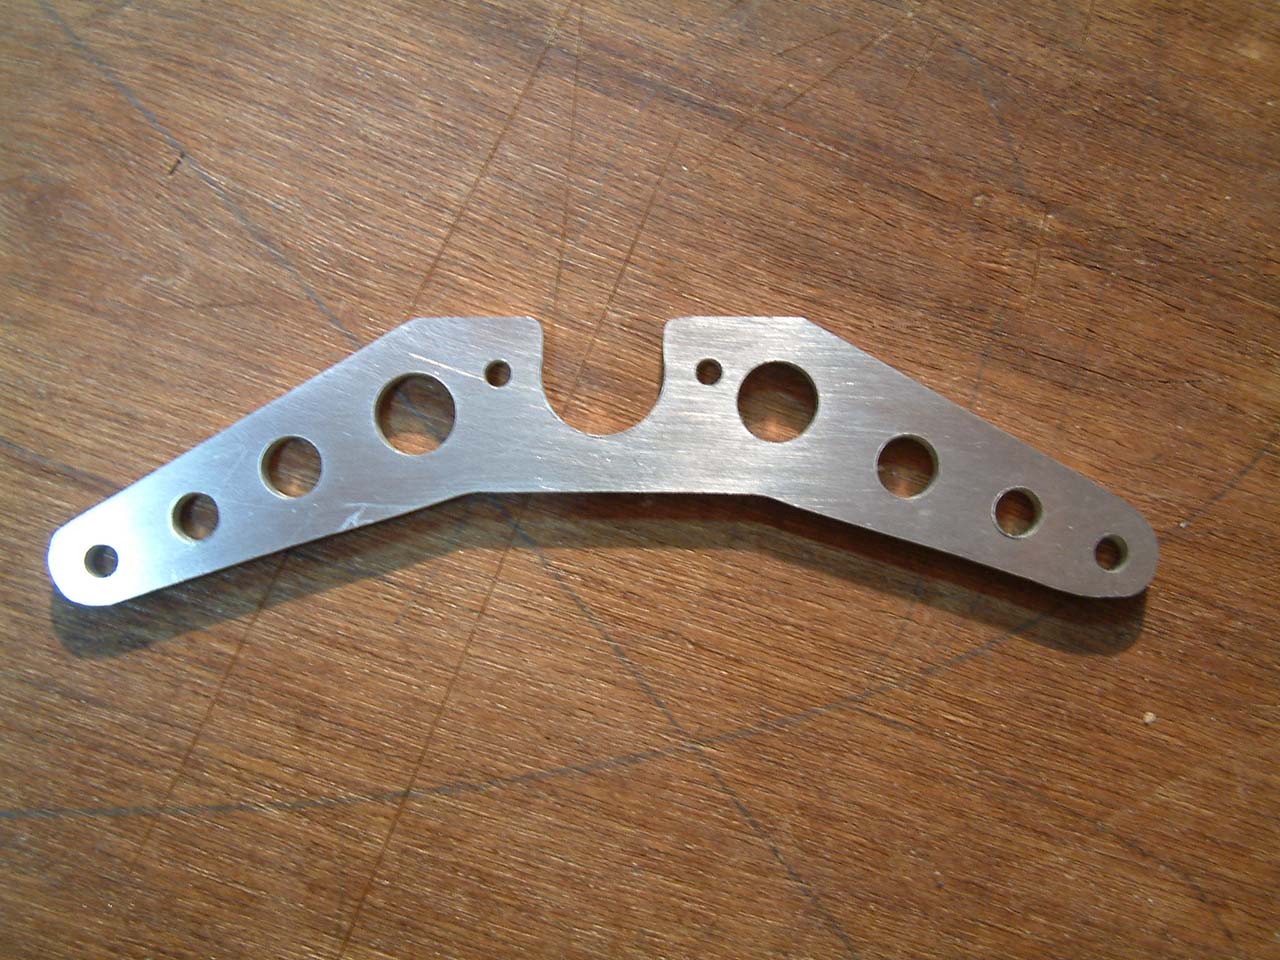
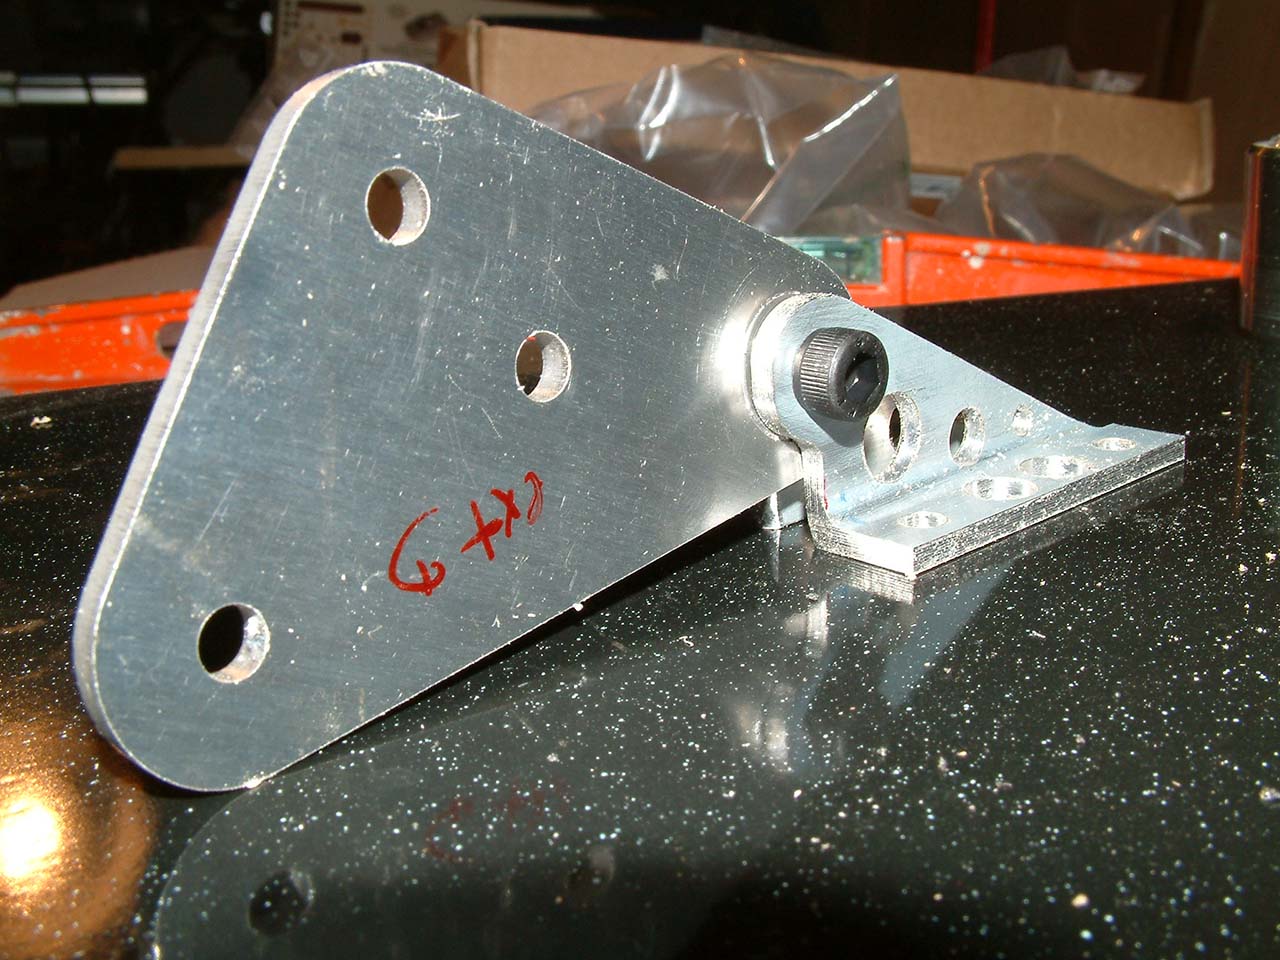
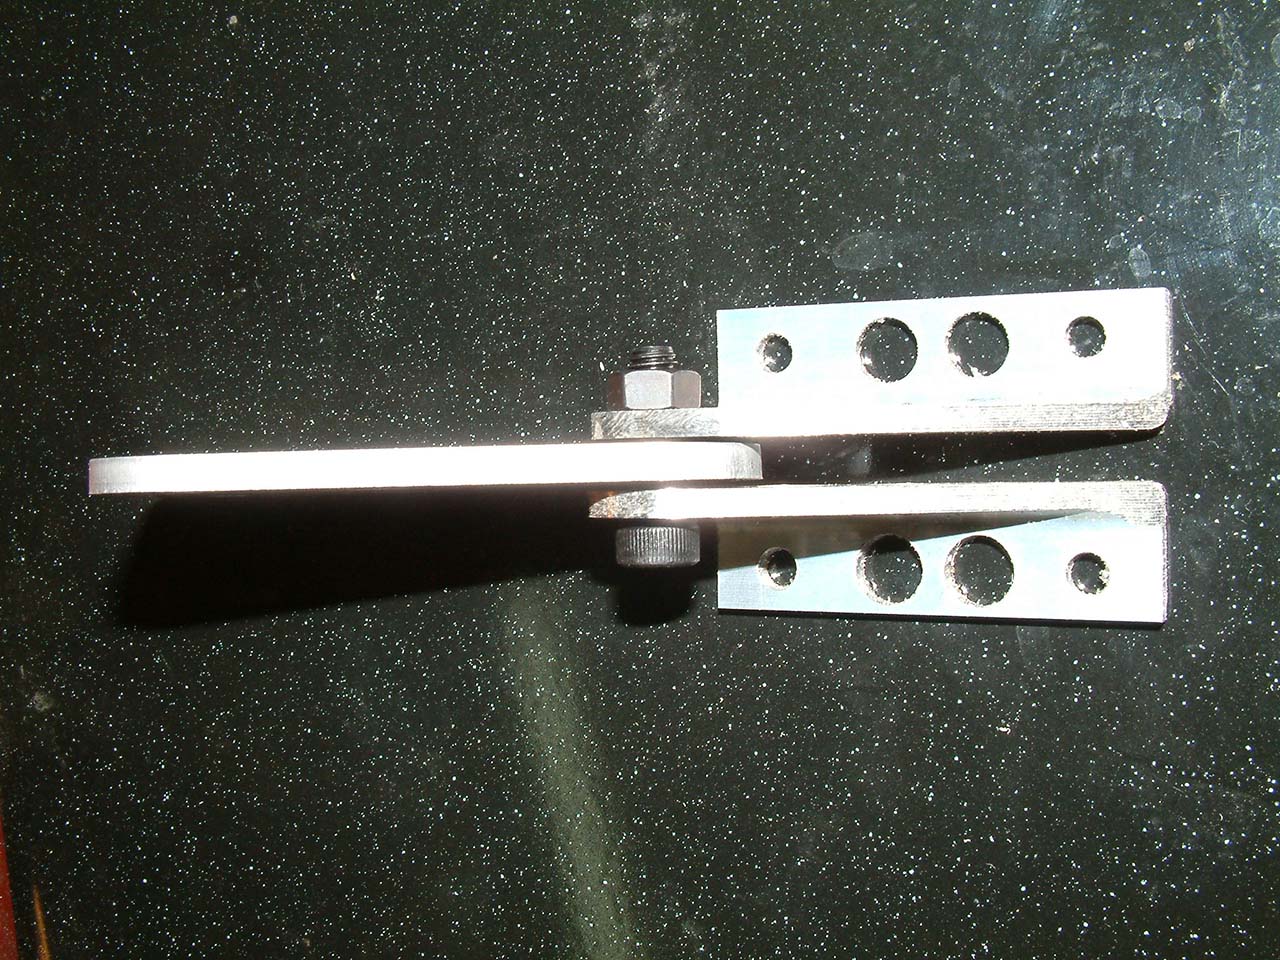
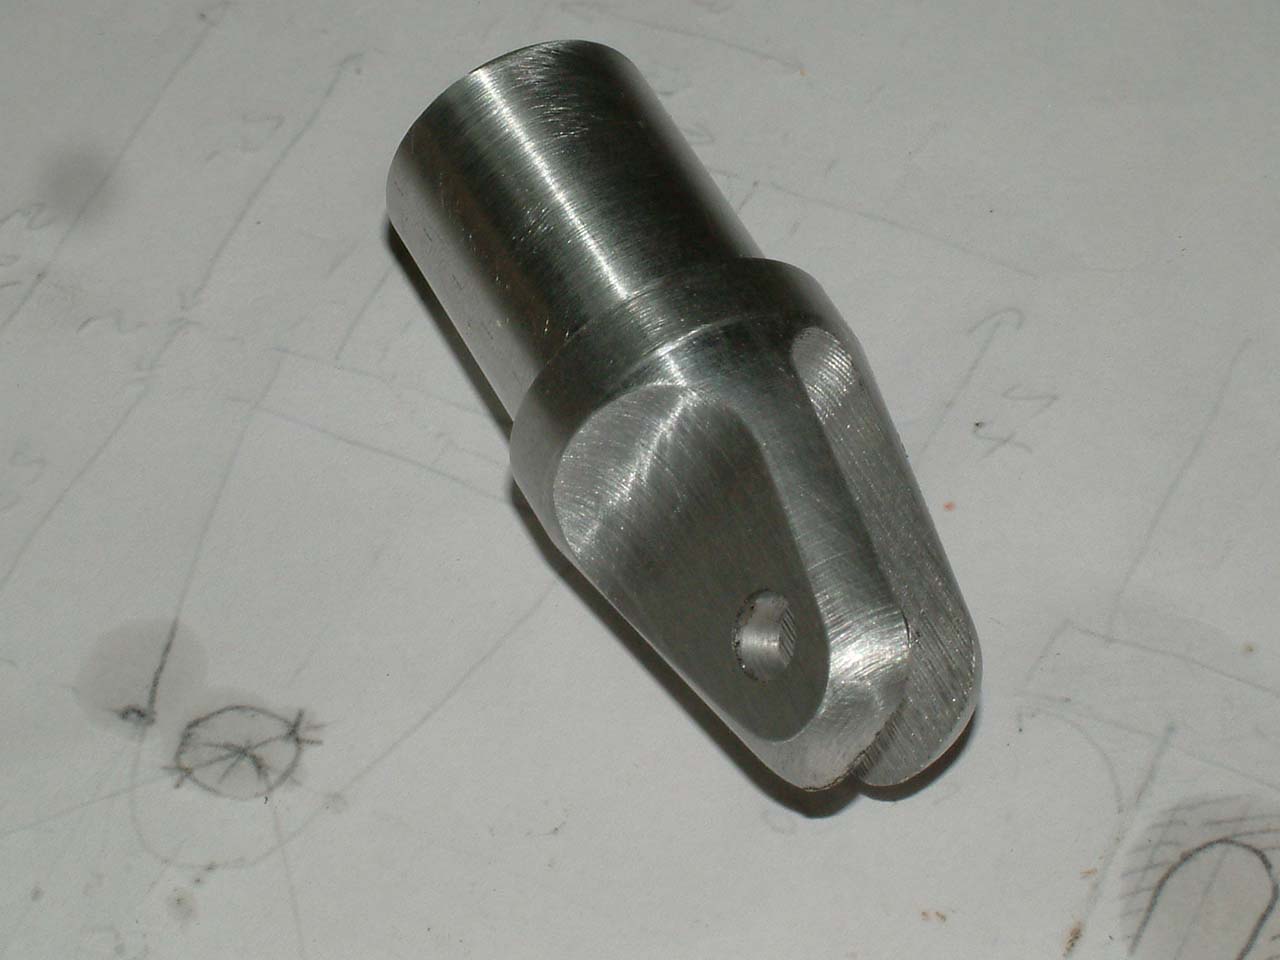
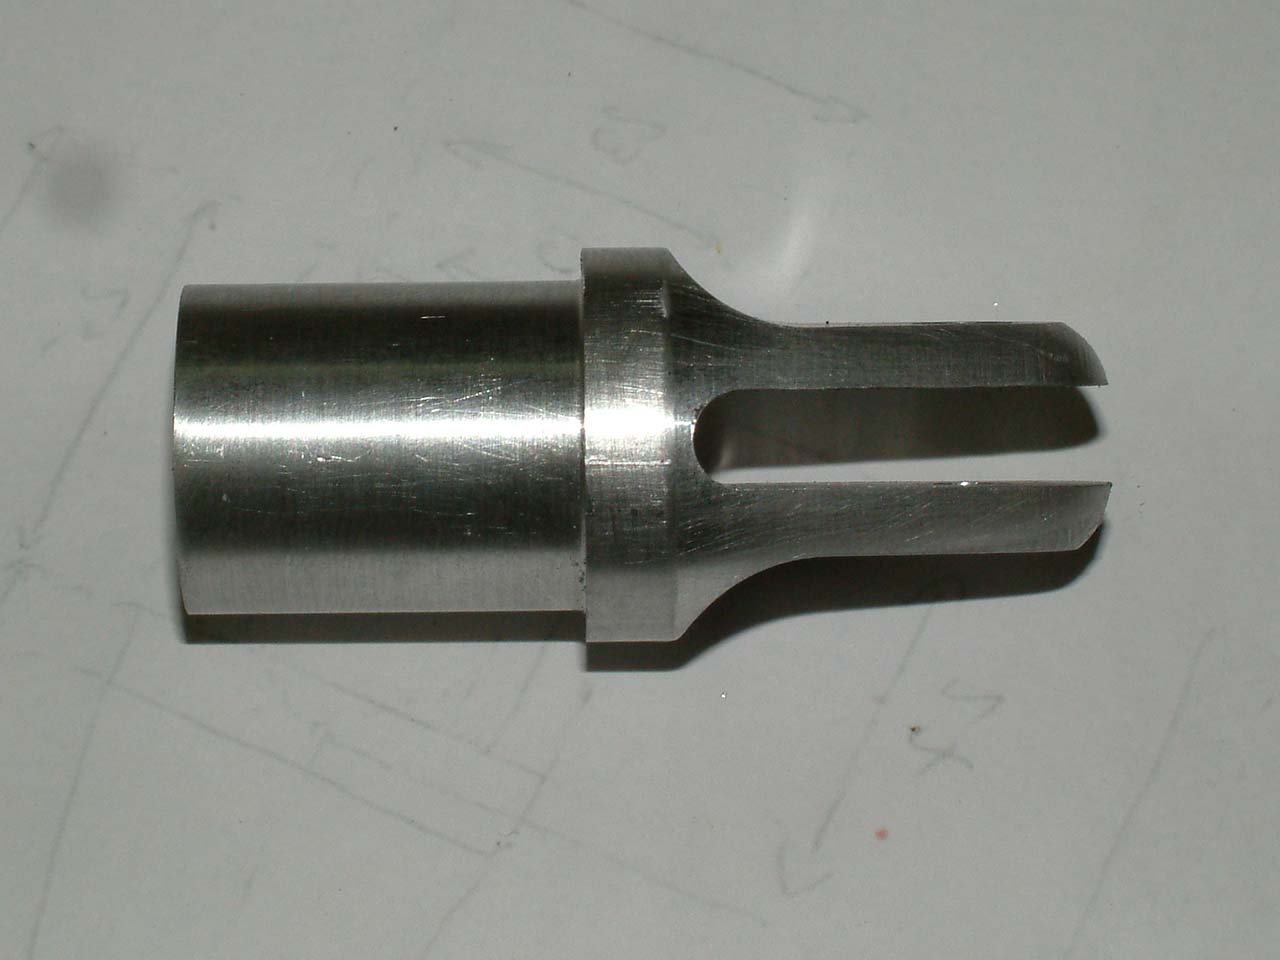
Stabilator fittinglis. Control Horn. Hinges


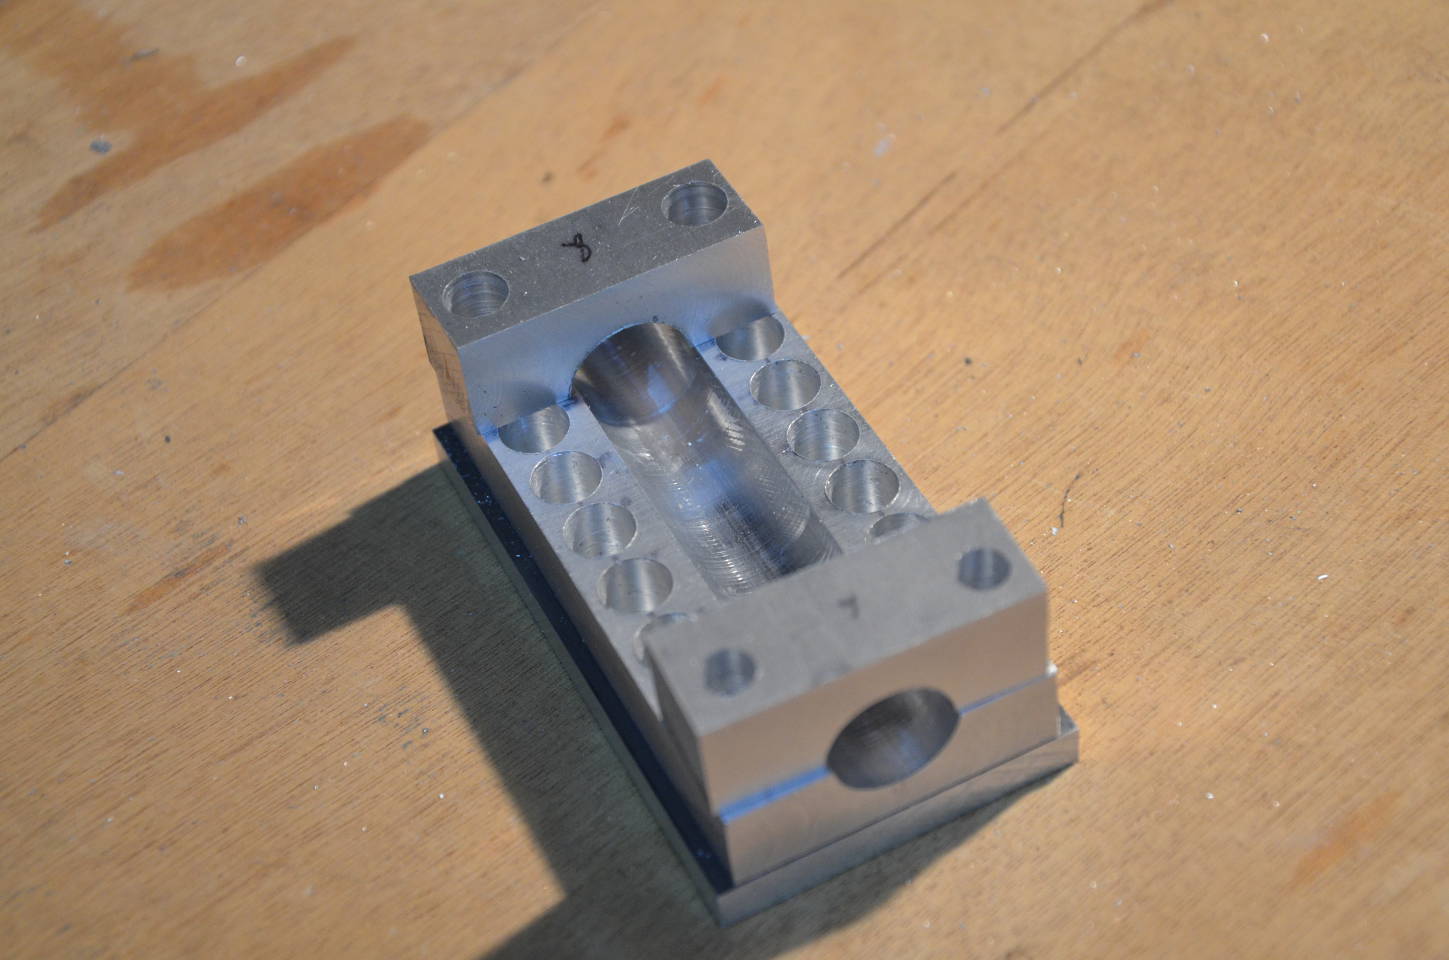
Control linkage parts. 


Stabilator Positioning. 


|
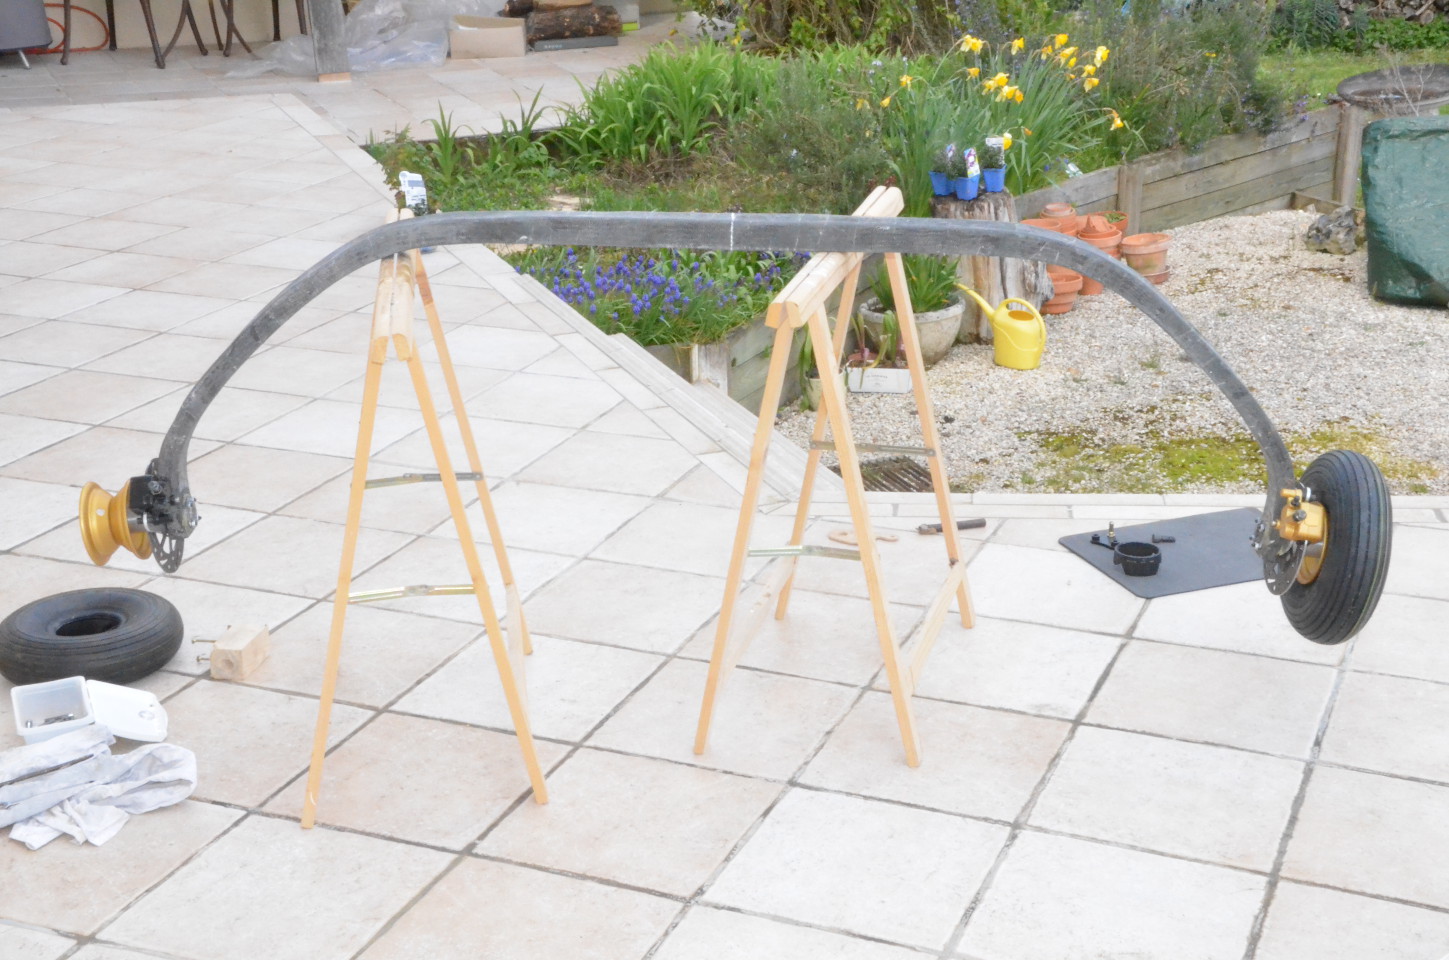
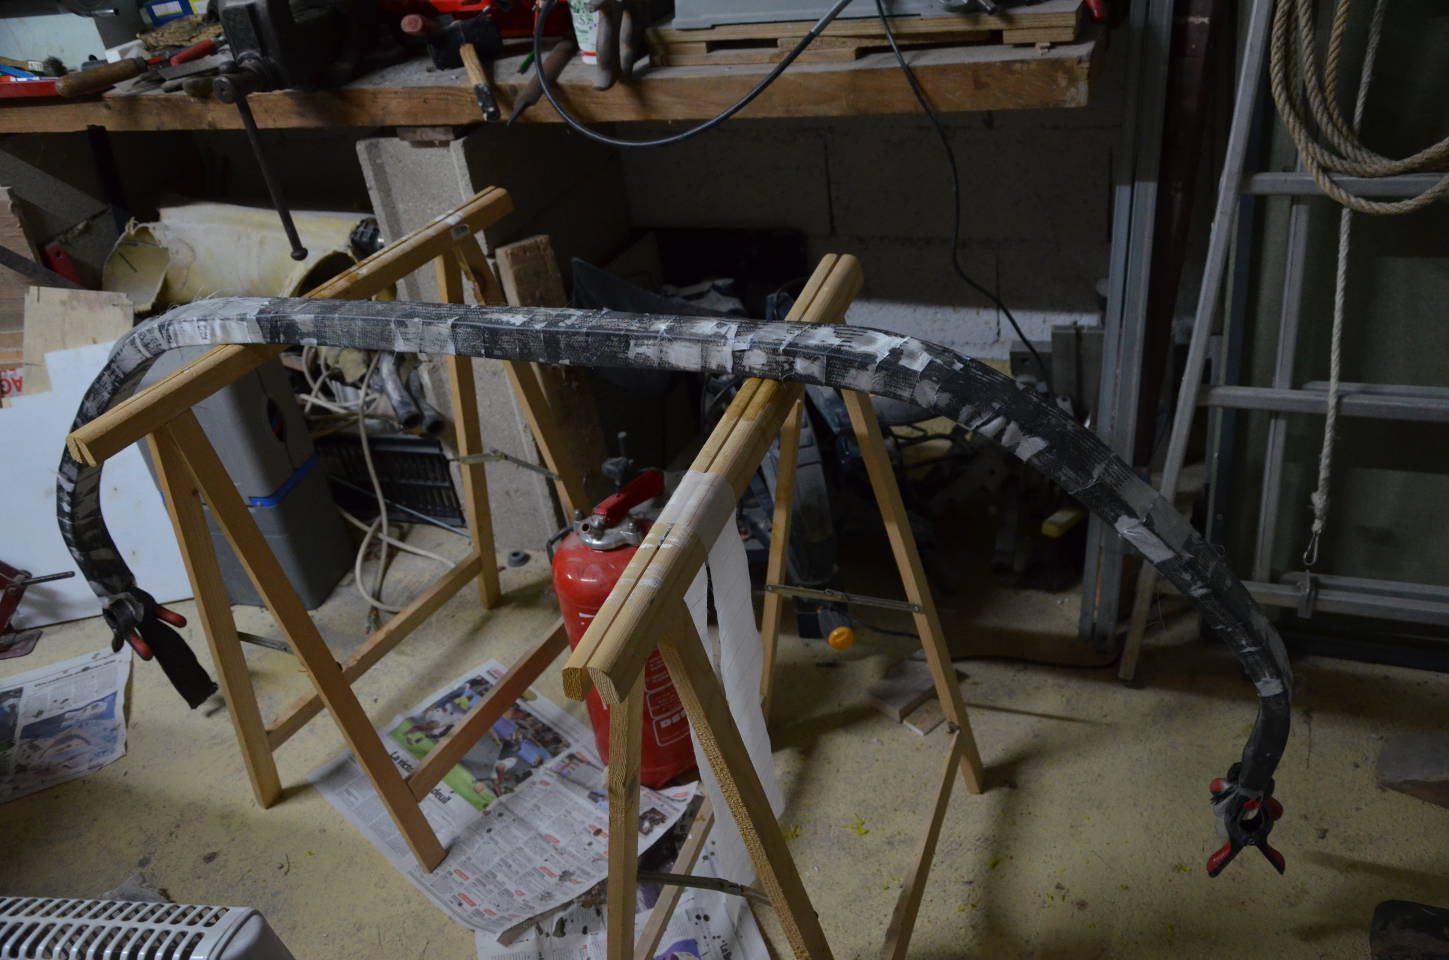
Landing gears |
Commands | powerplant |
|---|---|---|
|
|
 |
 |